I have moved to WordPress!
Please go to www.450sx.com to continue viewing posts!
Thank you! :)
Friday, December 11, 2015
Saturday, March 8, 2014
Revival????
Well hello world. Many things have happened since I last posted here. I decided this was a good time to revive this thing seeing as how I have a pretty big project ahead of me.


The car this blog was based off of has seen many things, from Minnesota and South Dakota snow, Arizona mountains and monsoons, to sunny Florida weather. Unfortunately, it has recently met it's end. With a wall.
A replacement has been found.
Look for updates to follow :)
Saturday, August 4, 2012
Getting things moving in Tucson. Drifting again!
After being here for a couple months I've begun to get a serious itch for drifting. It had been quite a while since I've driven and started asking around what there was. I always knew about the drag and drifts up in Phoenix and will definitely need to check one of those out. There is also a nice circuit a few hours away in New Mexico called Arroyo Seco Raceway that I will definitely need to check out as well. But what about Tucson? Turns out there is nothing. SOOoooo.... I'm going to make this happen. There is a sweet karting circuit just south of Tucson called P1 kart circuit and is meant to be a replica of the Suzuka Circuit in Japan, rad! I talked to the owner and went out to check the course out during a NASA time attack event. They ended up putting me in my own session so i basically got the entire track to myself for 4 15-20min sessions. Putting it simply, this track is awesome. Super technical, very easy on tires, and the location is great!
I'm working on getting some events held out there in the coming months. Tentatively I have scheduled an event on September 29th from 5-10. Get at me if you are interested! Basic info is below as well as a video of me on the circuit to give you an idea of the track!
PRICES
$60 for non-member drivers (most people will fall into this category)
$40 for cuircuit members
$10 pit/paddock passes (this includes ride-alongs)
$5 helmet rentals
FREE bleacher/grand stand/your own chair seating for spectators
Come out and have some fun with me and help get this going, I'd love to meet you all!
This is going to be classified as a FUN DAY! We had talked about turning it into maybe a mini series/circuit but for now I think it's smart to keep it a chell/fun day.
With this being the first drift event that has been held out there since'08 there may be one session of time attack drivers to help offset the cost of the event as we are unsure of how many drivers we are going to get. This is a factor of it being a new event, me having just moved here and not knowing everyone in the community, etc. Ti will be a blast regardless with tons of track time! When I was the one session out of 4 at the time attack event I got over 30 runs in!
We will be allowed to drift from corners 3 to 10, the most fun and technical part of the track!

Be sure to contact me if you have any questions or want to pay and reserve a spot. If you are a sponsor and looking to help out with the event let me know, I'm sure we could work something out!
I'm working on getting some events held out there in the coming months. Tentatively I have scheduled an event on September 29th from 5-10. Get at me if you are interested! Basic info is below as well as a video of me on the circuit to give you an idea of the track!
PRICES
$60 for non-member drivers (most people will fall into this category)
$40 for cuircuit members
$10 pit/paddock passes (this includes ride-alongs)
$5 helmet rentals
FREE bleacher/grand stand/your own chair seating for spectators
Come out and have some fun with me and help get this going, I'd love to meet you all!
This is going to be classified as a FUN DAY! We had talked about turning it into maybe a mini series/circuit but for now I think it's smart to keep it a chell/fun day.
With this being the first drift event that has been held out there since'08 there may be one session of time attack drivers to help offset the cost of the event as we are unsure of how many drivers we are going to get. This is a factor of it being a new event, me having just moved here and not knowing everyone in the community, etc. Ti will be a blast regardless with tons of track time! When I was the one session out of 4 at the time attack event I got over 30 runs in!
We will be allowed to drift from corners 3 to 10, the most fun and technical part of the track!
Be sure to contact me if you have any questions or want to pay and reserve a spot. If you are a sponsor and looking to help out with the event let me know, I'm sure we could work something out!
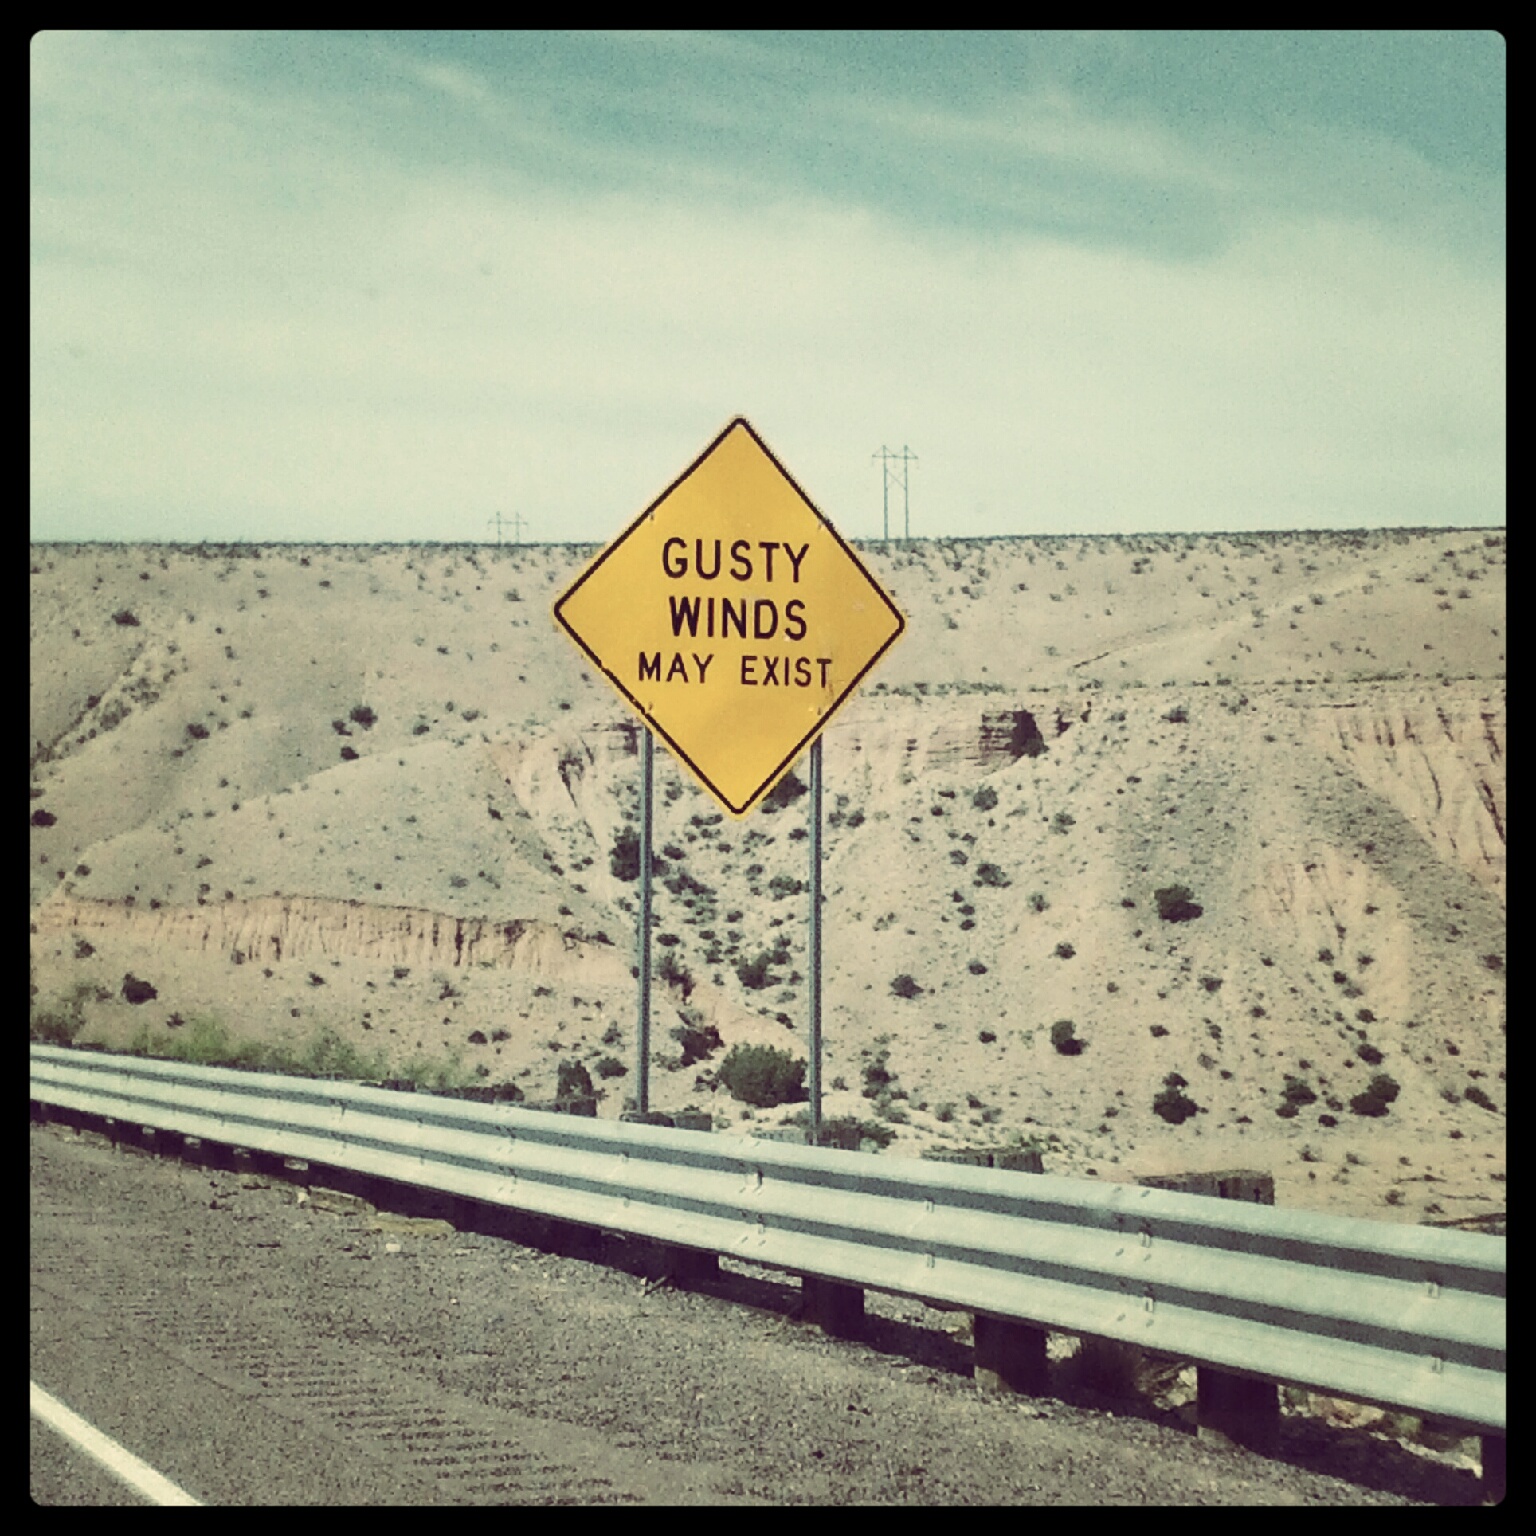
Arizona!
So.. made the move to Arizona after getting out of school. I've been meaning to post some of the pictures I took along the way up here but haven't got around to it until just now ha. The drive was a long one and took us 3 days of driving to get it done. It is absolutely insane how much it costs to move. Rental truck..trailer..fuel for truck and minivan..hotels.. dang!!
One thing that was pretty awesome is that I got to stop in Denver and visit one of the Opposite Grip dudes Paucie! I hadn't seen the dude in forever so it was pretty rad (even though it was only for a couple hours).
Below is a very random conglomeration of pictures over the past few months of me moving and getting settled in.
Packing up and on the way!


Classy bathrooms too!

Anyways... forward and on-ward...wwww yeah!


Going to try and get back into rock climbing!


They do have some pretty bomb food here as well!


Sonoran hot dog! Hard to tell but there is two hot dogs in here.

I must say, Arizona has some of the best sunset's I've ever seen in my entire life.


Parts of it remind me of South Dakota a lot!

Anyways, I'm here. Made it!

One thing that was pretty awesome is that I got to stop in Denver and visit one of the Opposite Grip dudes Paucie! I hadn't seen the dude in forever so it was pretty rad (even though it was only for a couple hours).
Below is a very random conglomeration of pictures over the past few months of me moving and getting settled in.
Packing up and on the way!


This was the name of the game..maxing out the fuel limits on the pumps..

We ended up stopping at this truck stop for some fuel and food. It was very nice of them to have some easy reading while we waited for our food.


Classy bathrooms too!

Anyways... forward and on-ward...wwww yeah!

Going to try and get back into rock climbing!


They do have some pretty bomb food here as well!


Sonoran hot dog! Hard to tell but there is two hot dogs in here.

I must say, Arizona has some of the best sunset's I've ever seen in my entire life.


Parts of it remind me of South Dakota a lot!

Anyways, I'm here. Made it!

My last SD Drift event before the move!
Alright everyone, I've been pretty busy the past few months. Big things have been happening, like life changing kind of things. I graduated college (yess!!!) and accepted a job out of state. I attended my last SD Drift event in late May on the 20th. There was shenanigans, crashing, and all around awesomeness going on.
May 20th
Kris was throwin GOBS and GOBS of smoke! I have no idea what his deal was that day but it was nuts!
One other highlight of the day is whe Kris and I hit. my front left enkei broke a chip out of the rim and his VS-KF got bent - ha!!


Love these dudes!!!!


Minivans: SUPER practical!

I will say it again. It was an AWESOME day.
May 20th
Kris was throwin GOBS and GOBS of smoke! I have no idea what his deal was that day but it was nuts!
One other highlight of the day is whe Kris and I hit. my front left enkei broke a chip out of the rim and his VS-KF got bent - ha!!


Love these dudes!!!!


Hidden in the smoke... ha!


Minivans: SUPER practical!

I will say it again. It was an AWESOME day.
Wednesday, May 16, 2012
KEEP DRIFTING FUN VIDEO
Is FINALLY FINISHED!!
For anyone that has wondered.. "why drifting" or "what the heck is that..." this video couldn't explain it any better. Mad love guys, nice job!
For anyone that has wondered.. "why drifting" or "what the heck is that..." this video couldn't explain it any better. Mad love guys, nice job!
Friday, May 4, 2012
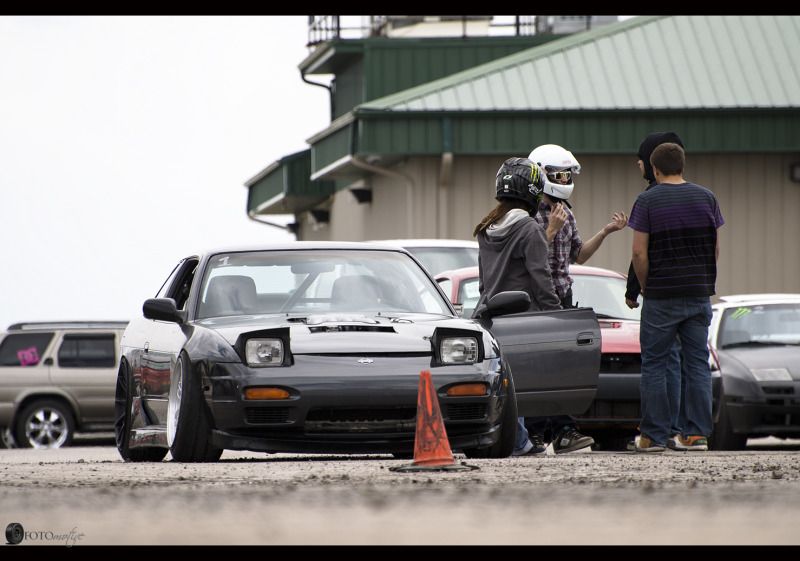
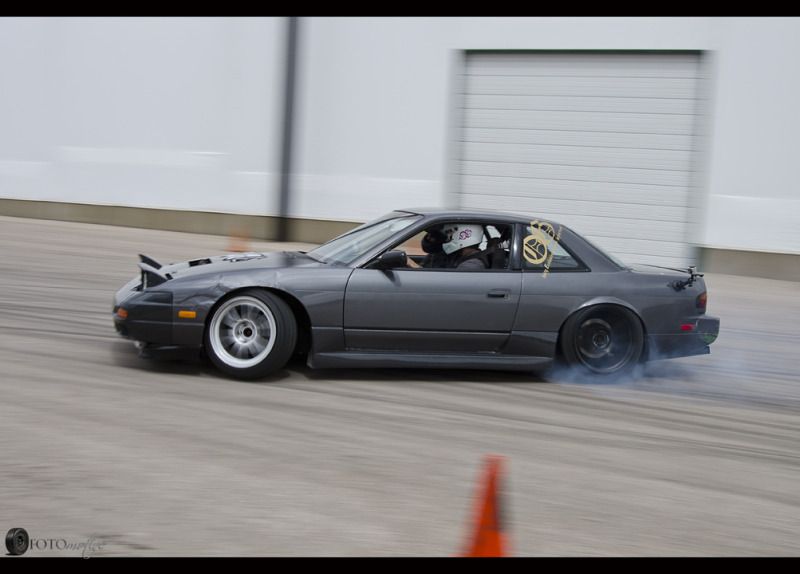
SD-Drift Thunderdome Event 04/29/2012
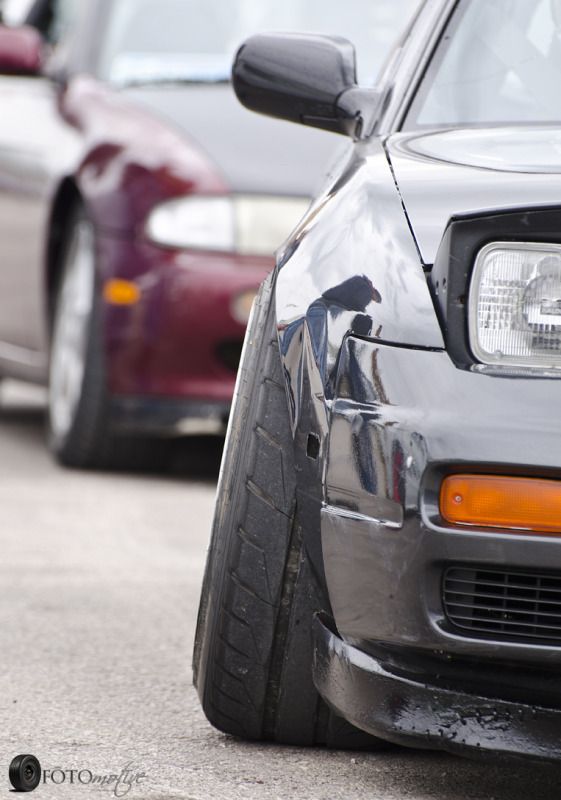
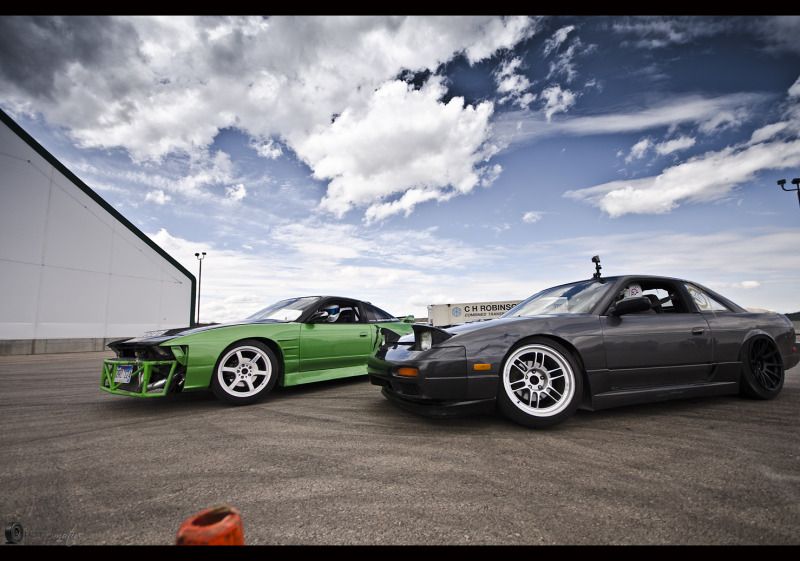
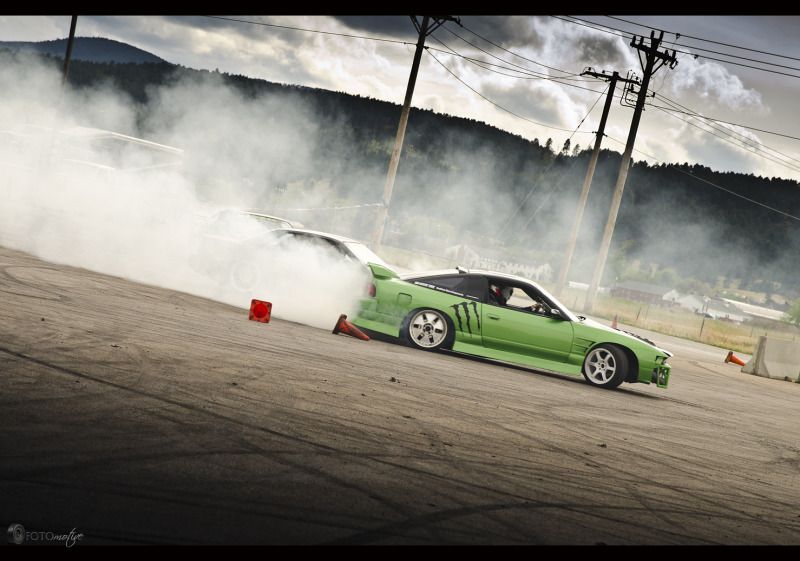
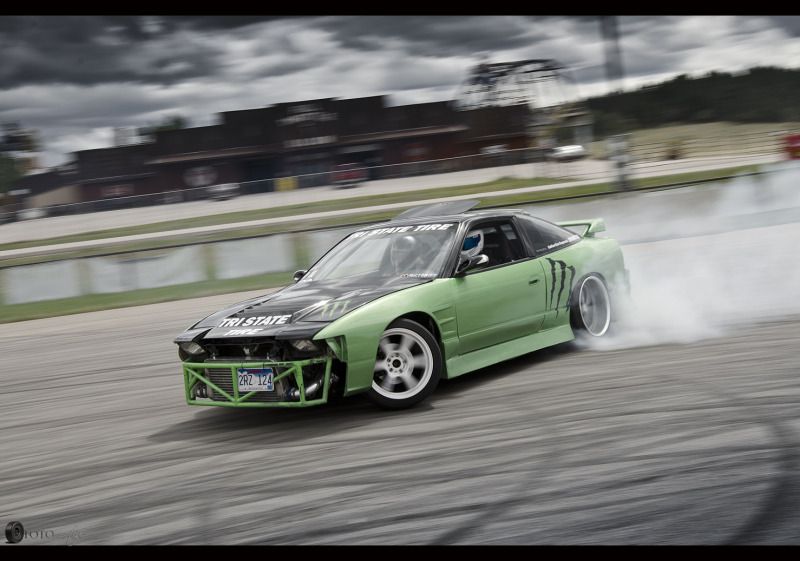
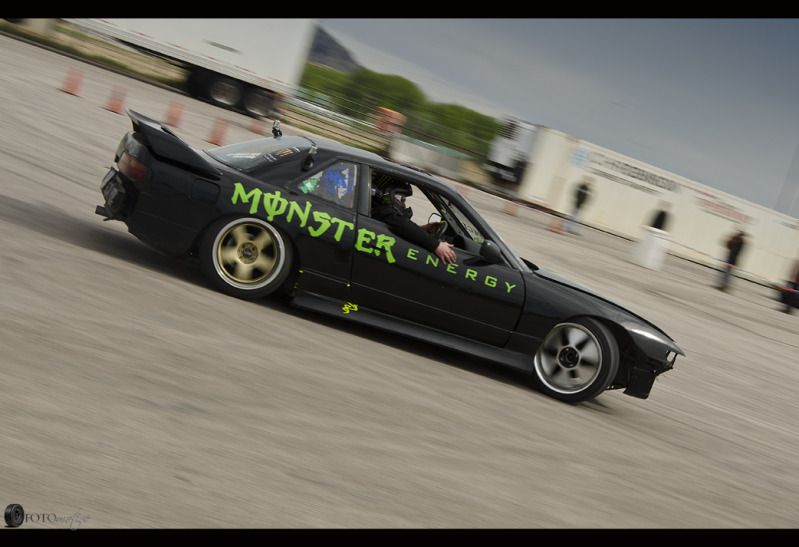
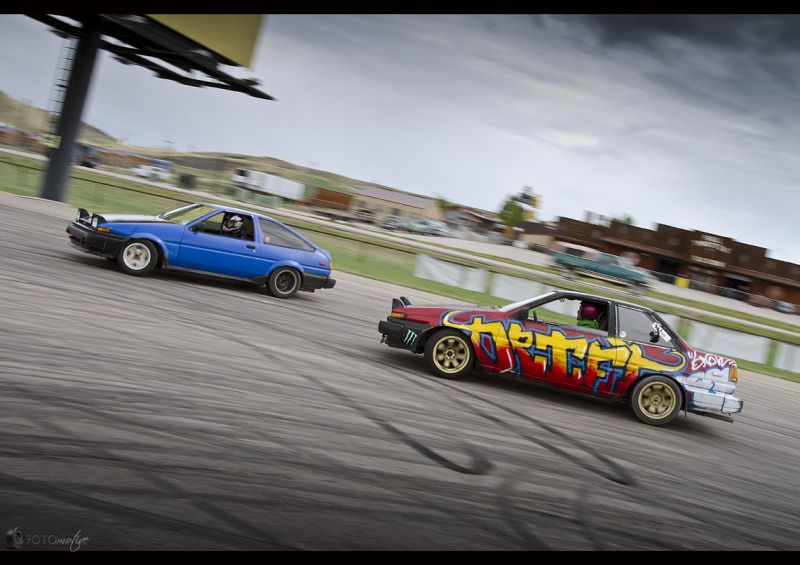
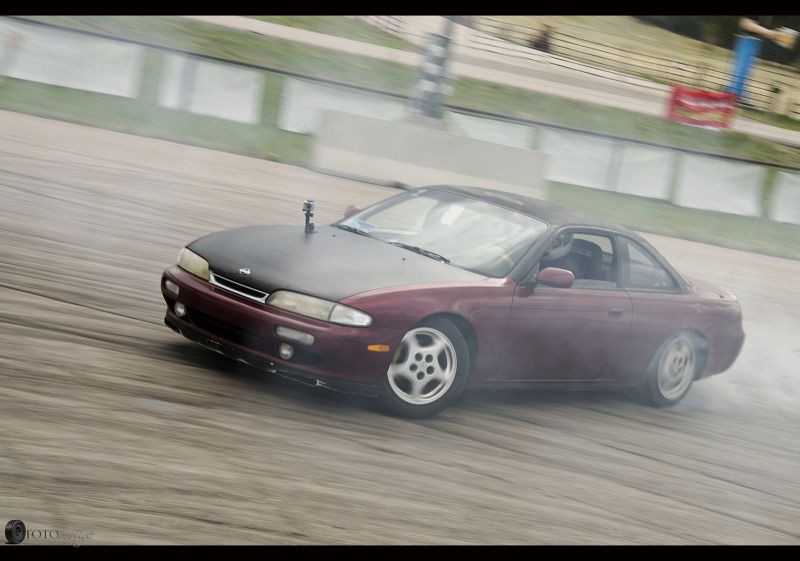
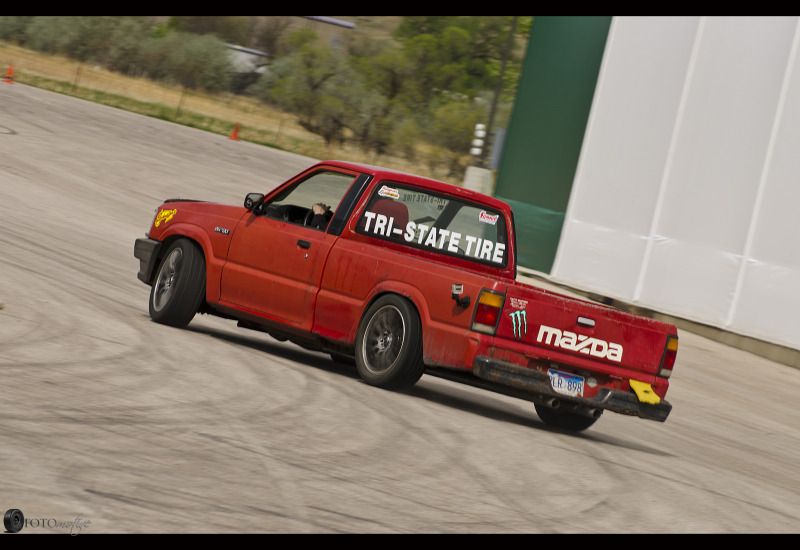
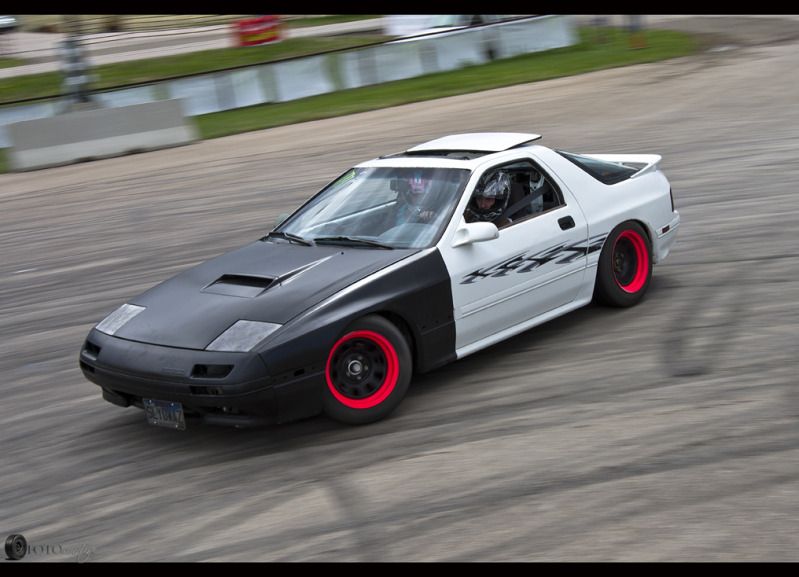
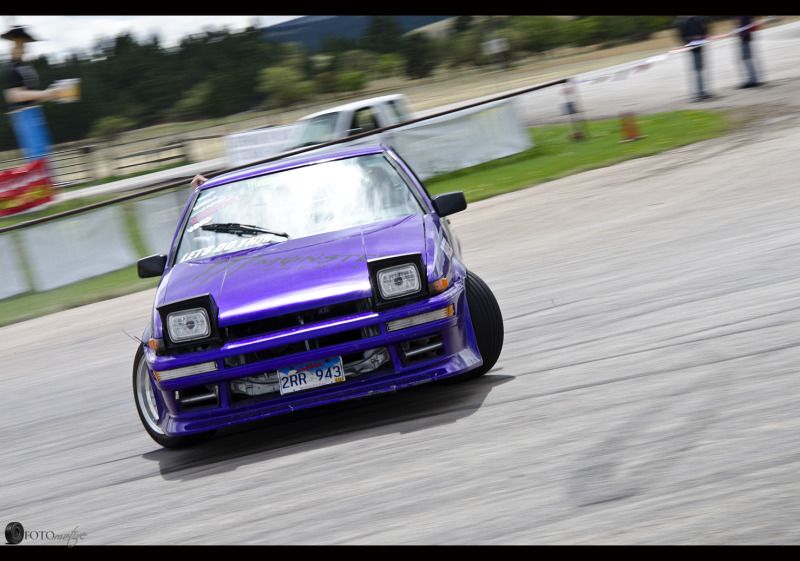
Last weekend we held the first SD-Drift event of the year out in Sturgis, SD, it was an absolute blast! Cool dudes and nothing but tandem practice and drifting all day long makes a rad time. Here's some media from the events. All pictures in this update come via FOTOmotive, check em out here!
http://www.facebook.com/FOTOmotive
http://fotomotive.photoshelter.com/
For the full set from the day: http://www.facebook.com/media/set/?set=a.372959016083805.82180.192098390836536&type=1
Now on to the video and pics! Driving was pretty sloppy, as to be expected after not driving for several months.
First and foremost....
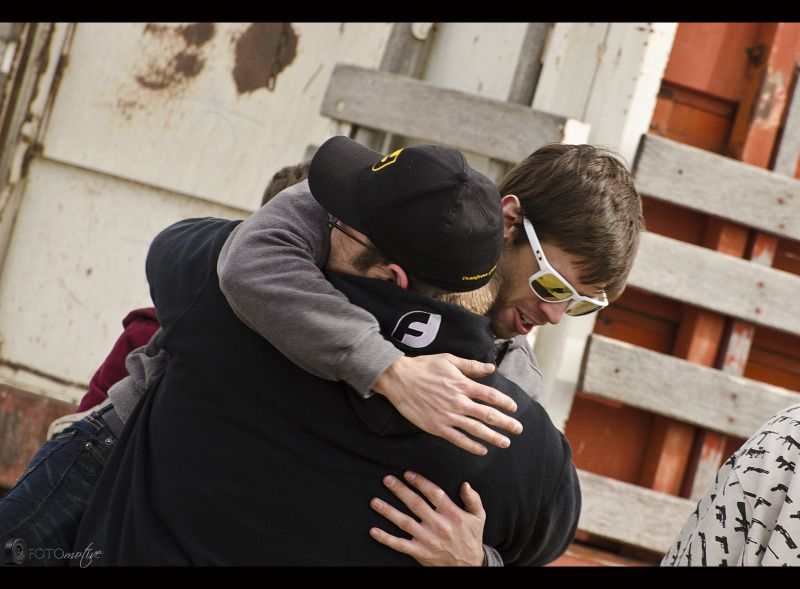
PICTURES
In love with this picture.


LOL, got too close in tandem.

Tandem!


http://www.facebook.com/FOTOmotive
http://fotomotive.photoshelter.com/
For the full set from the day: http://www.facebook.com/media/set/?set=a.372959016083805.82180.192098390836536&type=1
Now on to the video and pics! Driving was pretty sloppy, as to be expected after not driving for several months.
First and foremost....
PICTURES
In love with this picture.
Brothers gotta hug!
LOL, got too close in tandem.
Tandem!
Yeah!
Subscribe to:
Posts (Atom)