Monday, February 15, 2010

Wiring pt. 3

Today i only worked on the wiring for about 3.5 to 4 hours.  I just can't fall asleep until 2 am at least anymore haha.

Still, i finished the drivers side part of the under dash harness!  I've moved the Wiper Amp inside to under the dash so there is minimal stuff in the bay.  Also incorporated the BMC wiring and shock tower ground into the same harness. I didn't sleeve anything because, well, the lengths were so short it didn't seem worth it to me.  Plus it's going to be under the dash.  All of this is labeled in the picture below.


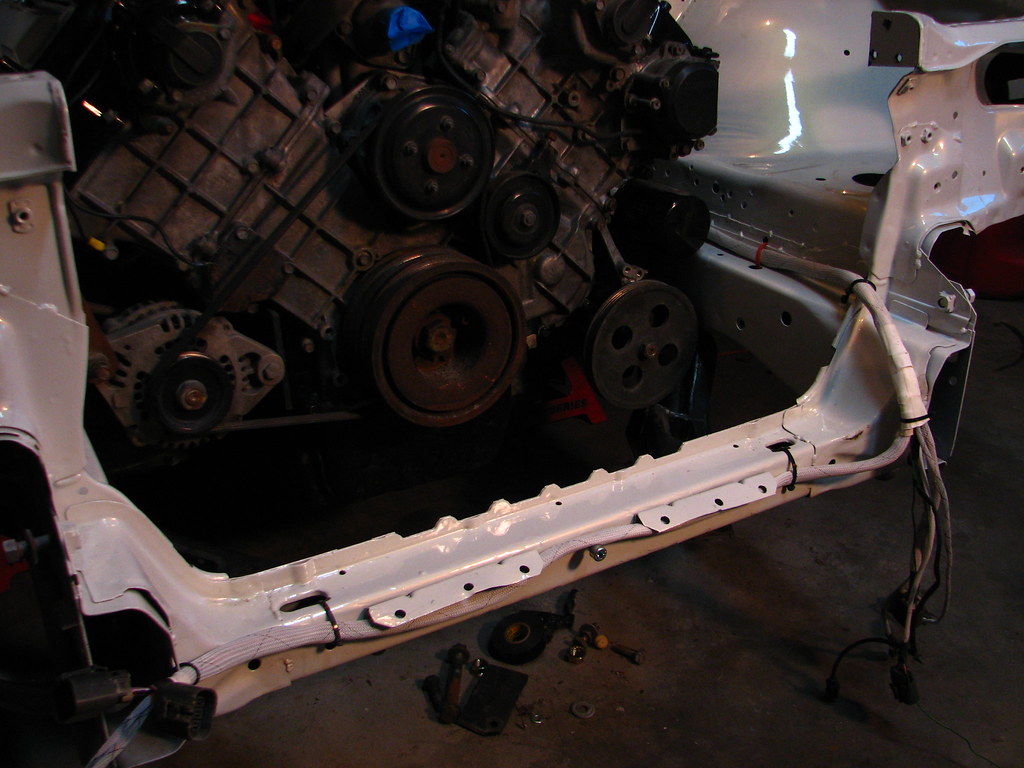
This next pictures show kind of how the wiring is routed.  I just realized how nasty my brake booster looks in this bay from the next two pictures haha.  Going to have to take that out and paint it... white or black?  white??


And below is what i have left to do.....  YUCK!!!


Sunday, February 14, 2010

Wiring pt. 2

Got a bit more done today on the harness thats going behind the dash.

All the wires to connect to the engine room harness are sectioned off.


And here's what my garage looked like after i finished today.  Mmm food.

Saturday, February 13, 2010

Wiring up Front

Got some work done today. I basically finished the wiring harness i made to replace EVERYTHING up front. This harness is for the lights/motors/blinkers/side markers. I will never do this again in my life (maybe). And i advise anyone else to PAY someone to do this for them as this is a giant pain.

A huge reason why it took so long is because i used OEM nissan connectors that i pulled off the q45 harness i have. So basically de-pined everything, including connectors up front, so i could get the sleeving over it. Lots and lots of labeling. And the soldering/extending/finding correct pins for the end that is going to connect to the chassis harness. 


This is how it's run up along the frame rail. I might add heat wrap around it later, not sure yet.  


Here's the front end how it splits to the other side. 

Tuesday, February 9, 2010

Flywheel Spacer/Clutch on Engine

Here's better pics of the flywheel spacer. If you look at the previous picture of it you can see the bushing is now recessed 11mm in the spacer.


Here's just a random picture i took after we bolted the new clutch and lightweight flyhwheel to the engine.  Notice the sign in the background lol.  I just noticed it got into the pic.


 - Chase

Sunday, February 7, 2010

Engine in Bay!

So i FINALLY got the engine in late last night. Was so close just decided to put it in there.

Friday, February 5, 2010

New Flywheels Spacer Machining

So we re-machined the flywheel spacer today.  Got everything all nice and fixed up.

Here's how the bushing was situated in it before the surgery.


And after.. (crappy pic, will get a better one later...)