Thursday, May 27, 2010

Photoshoot/WDT event

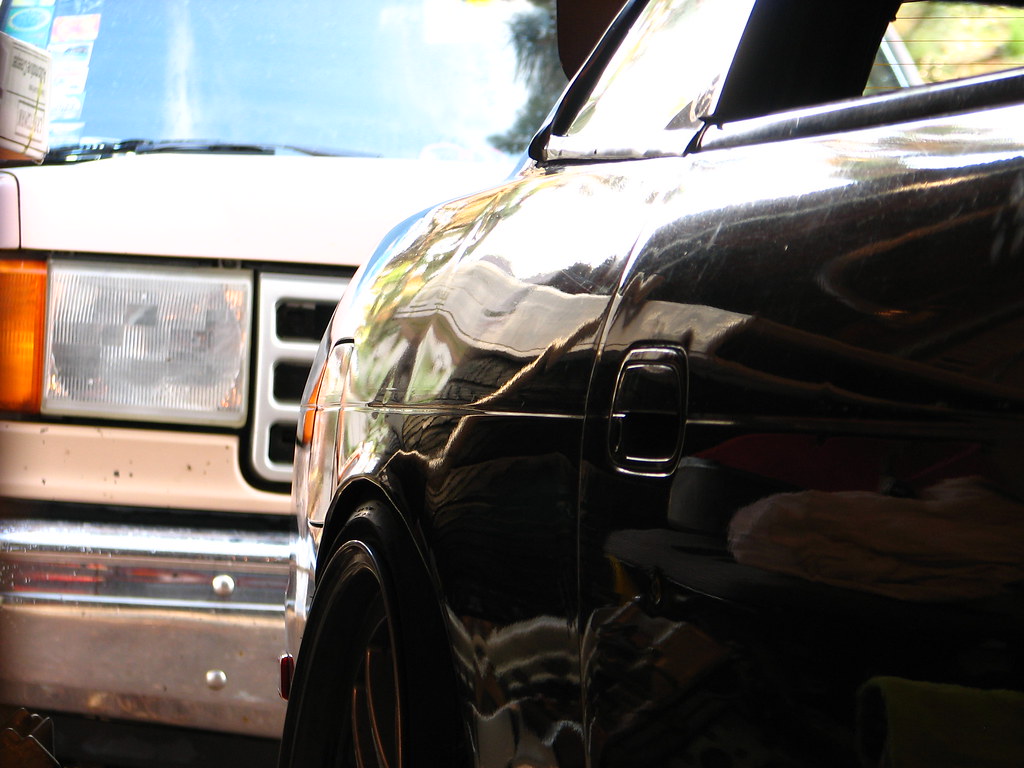
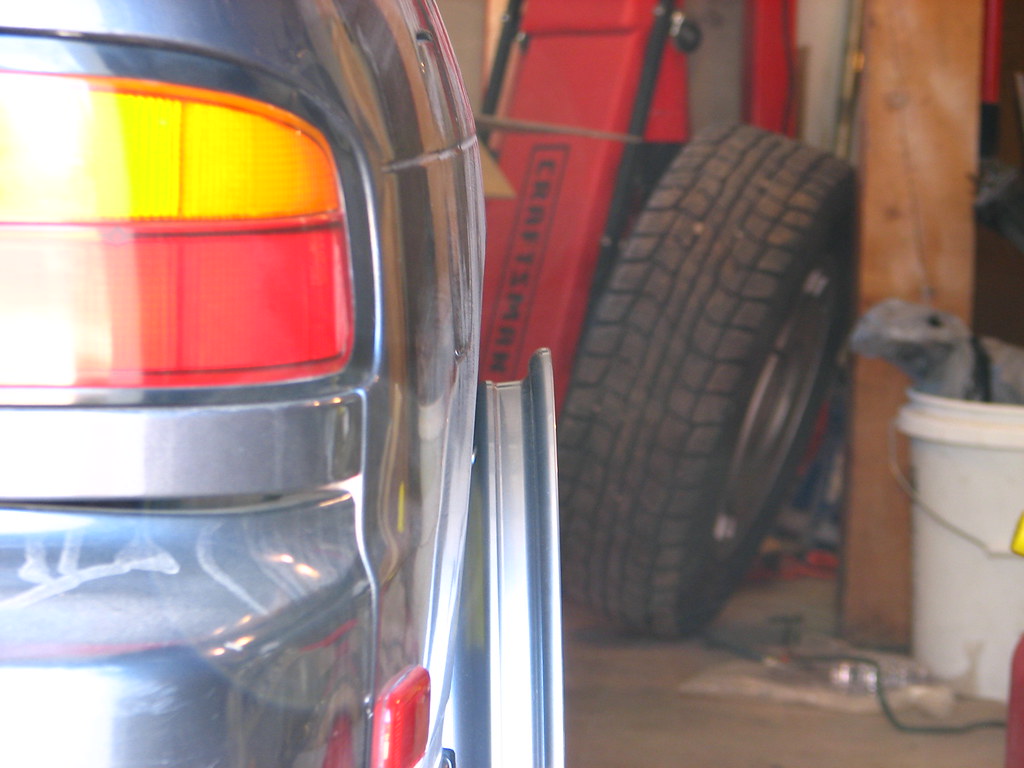
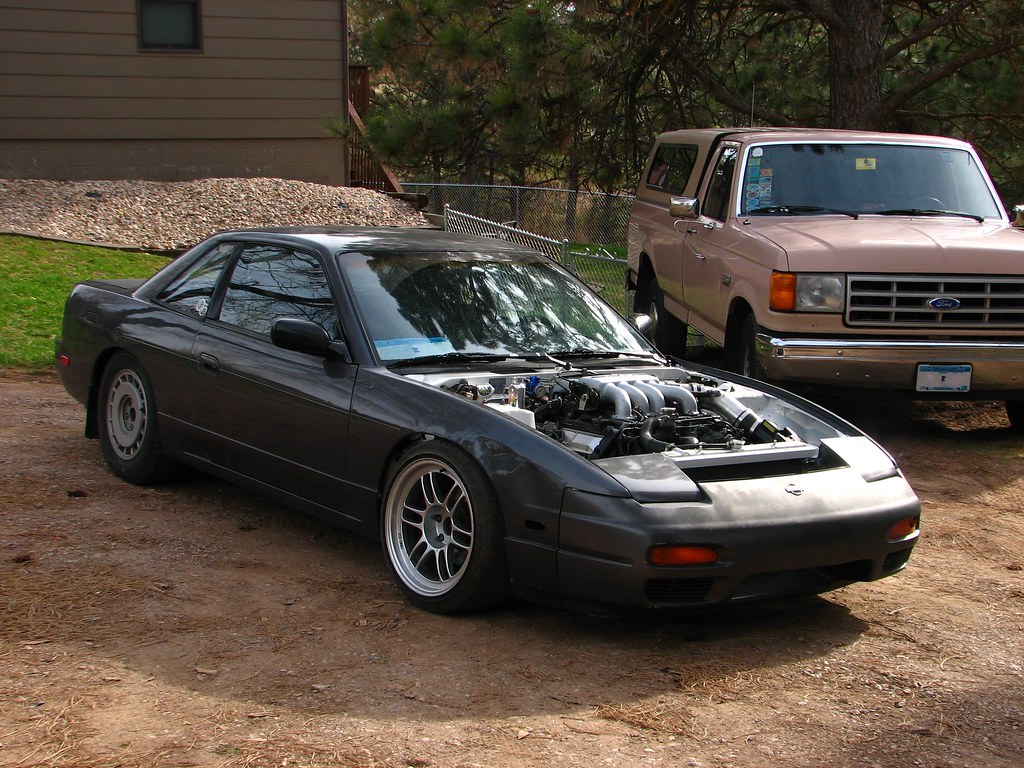
Had a little photo shoot lined up with another guy and decided to take my car along as well.  Some pictures are of what my room mate took and others are from myself.  More might be posted later.. never know.
Also found out my rear main seal is leaking really bad...

Click each image for larger versions.


Oh yeah, here's some pics of a little auto-x i went to here in a parking lot.  Ended up turning into a drift event pretty much.

View all of the images I took at the event here. (Thanks to the room mate for letting me borrow his camera)
http://www.flickr.com/photos/8182214@N07/sets/72157623904591573/


And some of the fellas.


Wednesday, May 12, 2010

DIY Alignment

Here's a little how-to i wrote for another forum on how to do a custom alignment yourself.

Steven, a buddy of mine, came over and walked me through this whole process one day. I had a pretty good idea how to do it, but he had done it many times before so the experience was nice. 

Anyways, for those of you that have been wanting to do something like this here is how it's done.

DIY Alignment

So i took a couple hours today and did some mock-up stuff and did a quick write up on how to do this. I apologize for any confusion as this is really hard for me to explain without the person being here, any input is appreciated.

You might ask why would I want to go through this??
Answers:
- Because i keep changing my ride height and thus my alignment gets screwed up constantly (too poor to keep having a shop align it all the time)
- More importantly, some alignment machines don't take into account a staggered wheel setup when they align your car. It will say you have a massively screwed up alignment when in fact it might be spot on. Basically it will set your toe to "zero" when in fact you will have a toe-in in the front and a toe-out in the rear due to the staggered setup.

Anyways, lets get started.

Things Needed
• Sewing String
• 4 Jack Stands
• Two 8x12x8 boards (not necessary but makes centering easier)
• Something to hang a plumb bob from, I use an engine stand with the string tied to the jack handle
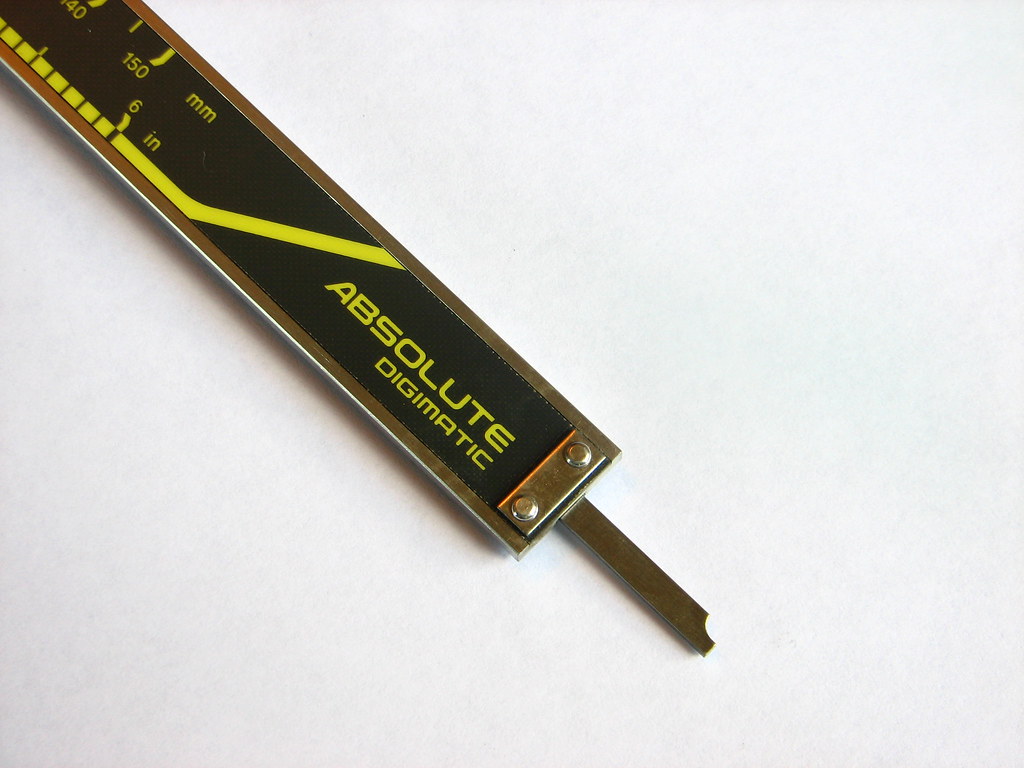
• Preferably a relatively accurate vernier calipers with a depth-gauge. Measurements will not be very accurate without one.
• Measuring tape
• At minimum - 10 feet of clear, flexible, plastic tubing.
• Scientific Calculator


Step 1 - The Setup
Note: If all you are wanting to do is set Toe, skip to "Step 3"

• Get car on a relatively flat surface, such as a garage floor.

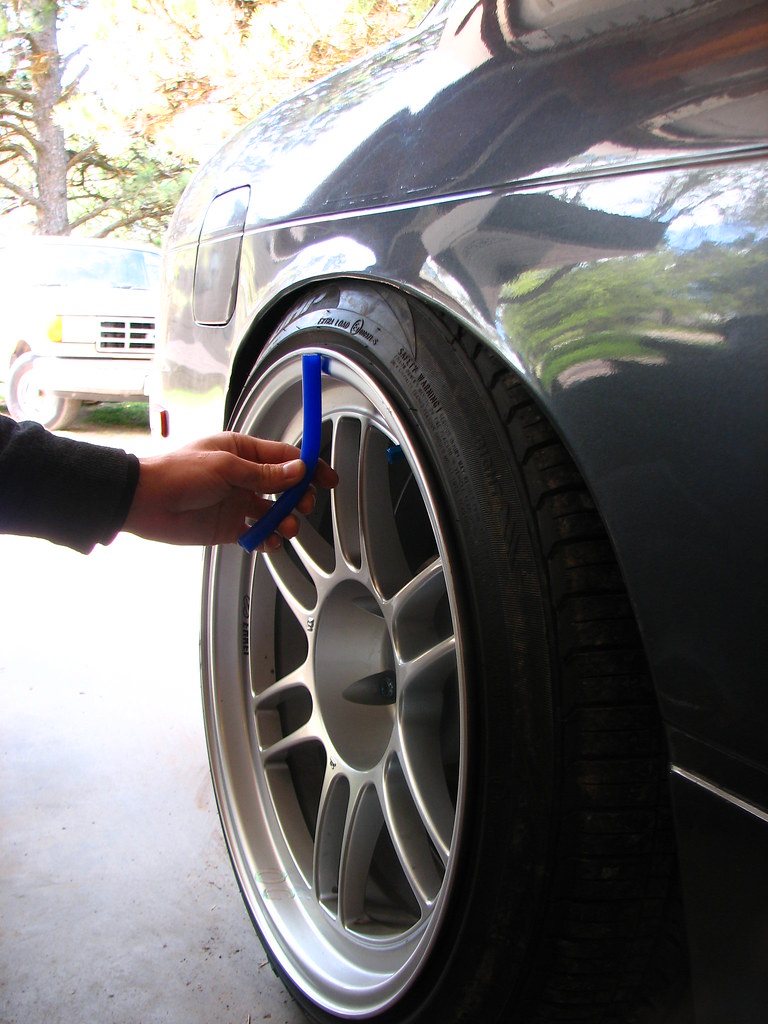
• Next you need to make sure this flat piece of concrete/whatever is level. You might not think a half a degree is a big deal, but when you are taking into account your camber settings, a floor that is .5 degrees off level will yield a difference of 1 degree total from side to side. It’s a big deal. So take your clear tubing and fill both ends with water. Now you need to find a minion to help you with this one. Make sure you both plug both ends of the tubing with your thumb so water can’t escape. Then, each of you go to the other side of the car and hold the end of your tubing up to the lip of the rim as seen in the picture. Both let go and whoever’s side drops in water level, take the calipers and use the depth measurement to measure the depth it dropped. Picture of calipers with depth gauge is below. 


   My blue tube is just there to show you where to measure. Mock up! ;) 

  
• Now take the tape measure and measure the approximate distance between the two points you measured as seen below (yellow measuring tape on bottom). A second person is recommended for this measurement as well. Now take those two measurements and get your handy calculator out and plug your numbers into this equation to find the floor angle.


This will give you the angle the floor is at. To help you figure out what side you need to subtract from, picture my car above. If the water dropped in the tube on the left side in the image, that means the garage is higher on the left than the right. So when you take camber measurements on the left, you need to subtract the floor angle from you camber angle obtained. On the right side you would need to add it to the camber angle.

One other method that might work better than subtracting the floor angle from the camber angle would be to drive the car up on plastic shims or something of the sort. Take your measurement, then drive the appropriate side up on shims and re-measure the angle the car is at. Keep doing this until the car is perfectly level.


Step 2 - Camber

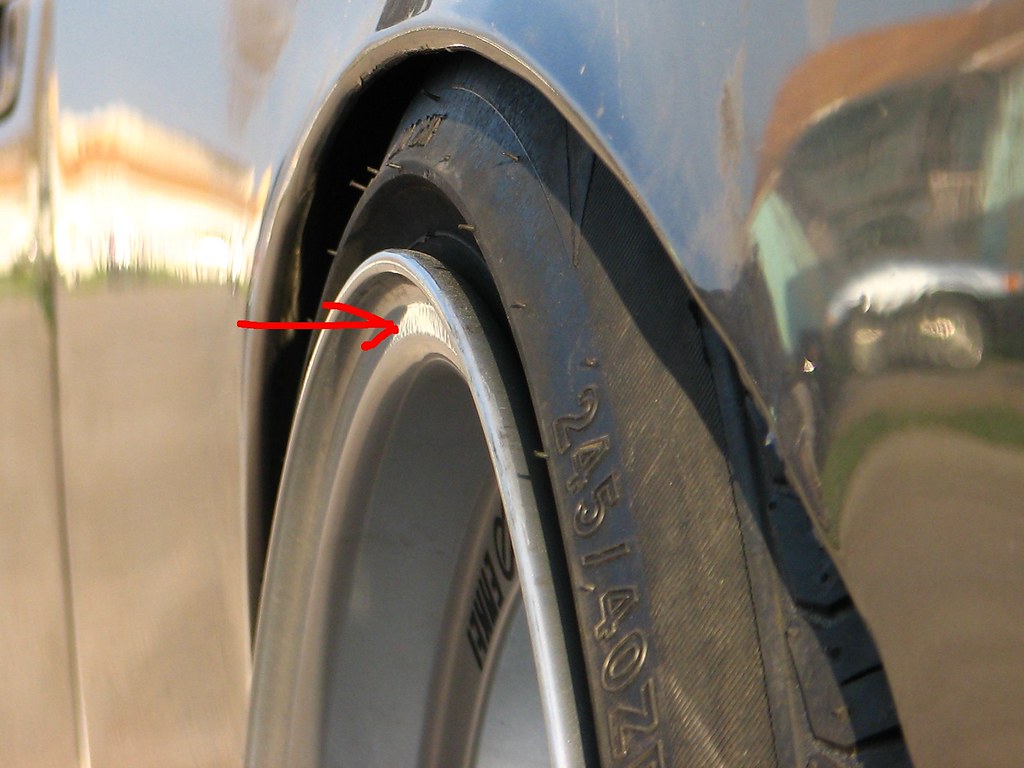
• First, measure the diameter of the rim to the surface you will be measuring to with the tape measure. On an 18 inch rim the distance is usually about 18.75 inches. For a 17 inch rim, it’s about 17.75 inches. The section I take my measurements from is shown in the picture below. This will also be the surface you will be measuring from with your vernier calipers, mine is shown below.  


Next, bring the plumb bob up the the rim. Make sure the weight is below the lip of the rim and is not swinging excessively. Now, measure the distance from the string to the rim on both the top and bottom of the rim. Subtract the bottom distance from the bottom and input your measurements into the equation below. 


Depending on the side of the car you are taking camber measurements from, you will need to add or subtract the floor angle recorded before. Make your camber adjustments, jostle car to settle the suspension, and repeat until desired camber is achieved.

More camber sample pictures:  


Step 3 - Toe Adjustments

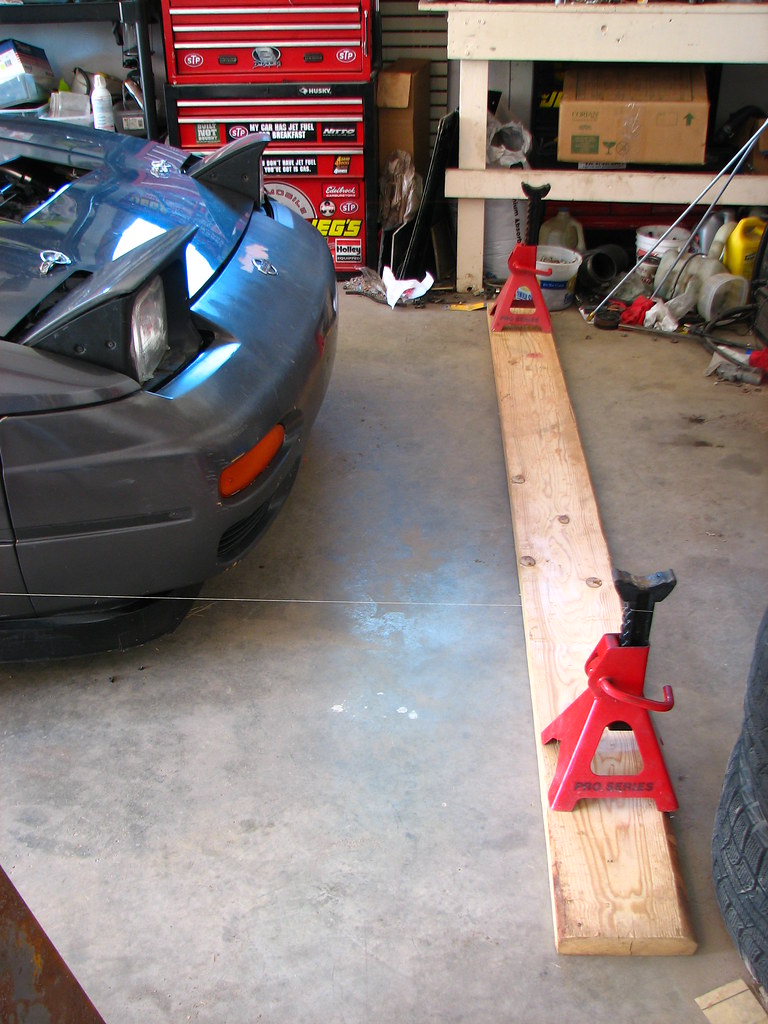
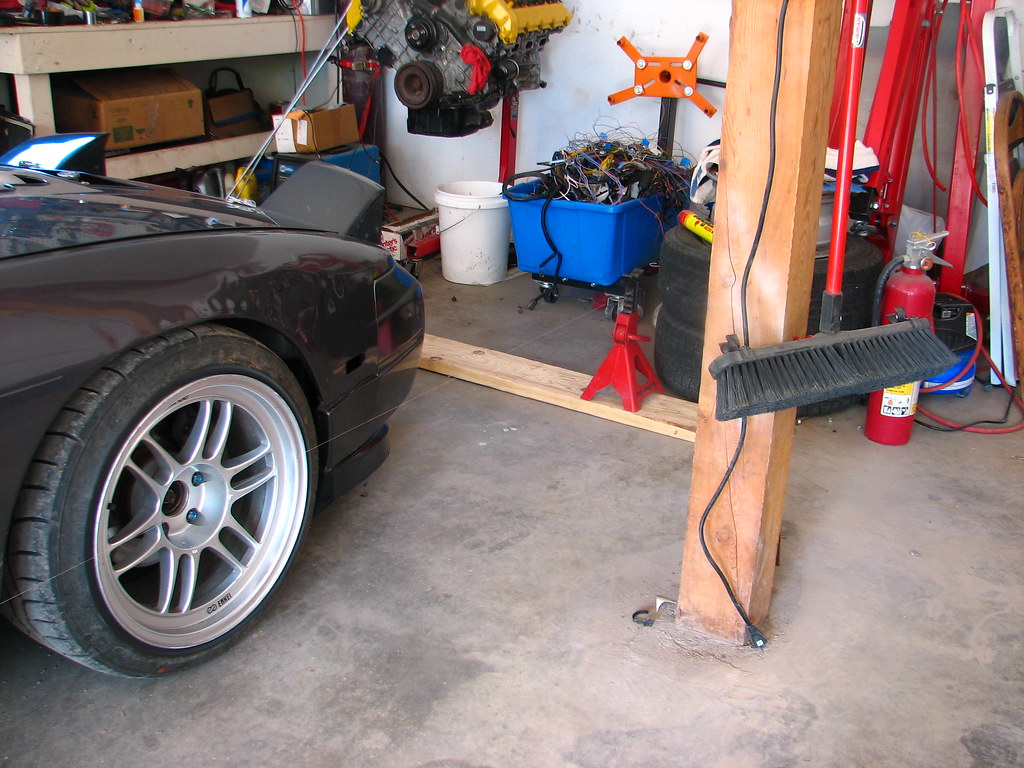
• This is a little trickier than setting the camber and requires another person at first. You need to make two parallel lines next to the car using the 4 jack stands and string I told you to get. Place the back two jack stands and front two jack stands on the two boards I had you get as well. Also, raise or lower the jack stands to get the string about as close to the center of the rim as possible. My car with some stands mocked up is shown below. 


What we are doing here is centering the car in between those two lines. PUT THE JACK STANDS ON THE BOARDS! Then, the first step is to make the two strings are the same distances apart at the front and rear. So take your tape measure and minion/friend and make the front two jack stands and the rear two jack stands the same distance apart. Make sure you keep the strings relatively close to the lip of the rim as it makes it easier to take measurements later with the calipers. You also might have to go back and forth because they might change when you move the front or rear distances, double check!

Next, take a measurement from the same point on each side of the front and the rear of the vehicle to the string. On the front I usually measure from the spindle or the center of the rim where it bolts to the hub as these will be spaced about the same distances on either side. The rear I measure from the center of the rim. If measuring from the rim, measure just above the center hole. If you measure to the left or right of this center hole they might not be the same if your toe setting is off. (NOTE: the front and rear distances from the string may be different if you have a staggered wheel setup as I do. Do not worry; just make sure the distances side to side are the same and the vehicle will be centered.) I had you put those jack stands on the board for a reason! Instead of moving each jack stand individually and then checking their distances as well, you can move the board side to side to center the car and their distances will stay the same! Makes this go WAY smoother.

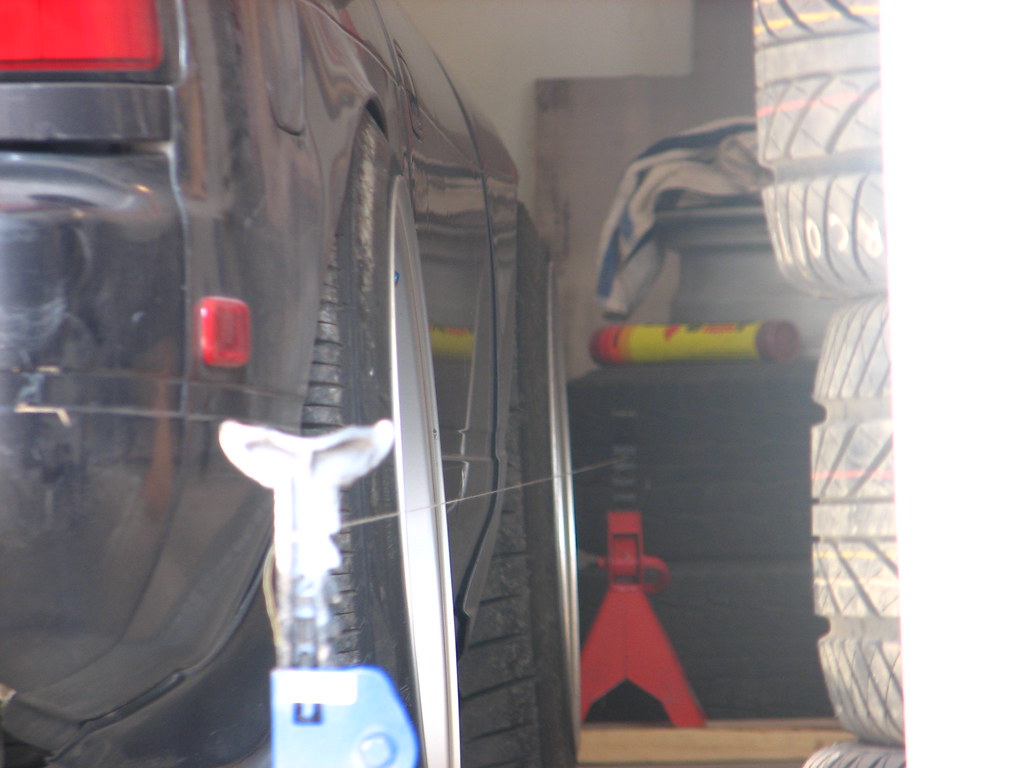
Once you get the car perfectly centered in between the two parallel lines you can start taking your toe measurements! Measure the distance between the string and the rim at the front and rear of the rim. Subtract the smaller distance from the larger distance and use the equation below to find out your toe angle. My string in the picture below is red so it would show up in the picture better. It is also does not represent my current alignment, I just strung it up to shoot the picture!  


Use this equation to set the Toe. If the two sides of the rim are the same distance apart you have zero toe, this is what I have. 


Here's a template you can use for taking down the measurements as you go. These are actually my latest alignment measurements.
_________________________________________________________
Floor difference

Floor angle = .25 (passenger side is higher than driver side)
_________________________________________________________

Centering

Set strings to 73 inches apart, with one side set at the 2 inch mark.
REAR -> Set inner-most part of the rim to 4.747 inches from string
FRONT -> Set front SPINDLE end to 4.9265 inches (drivers)
_________________________________________________________

Camber

Driver Camber Front
Measured Camber = 1.23
Actual Camber = 1.23 + .25 = 1.48 degrees

Driver Camber Rear
Measured Camber = 2.75
Actual Camber = 2.75 + .25 = 3.00 degrees

Passenger Camber Front
Measured Camber = 1.74
Actual Camber = 1.74 - .25 = 1.49 degrees

Passenger Camber Rear
Measured Camber = 3.30
Actual Camber = 3.30 - .25 = 3.05 degrees

Please note that the + and - of the .25 is my floor angle. You may have to add or subtract your own angles differently (i.e. subtract from drivers side instead of add like i have done)
_________________________________________________________
Toe

Passenger Rear Toe = zero
Passenger Front Toe = zero

Drivers Rear Toe = zero
Drivers Front Toe = zero
_________________________________________________________

Thursday, April 29, 2010

Hood

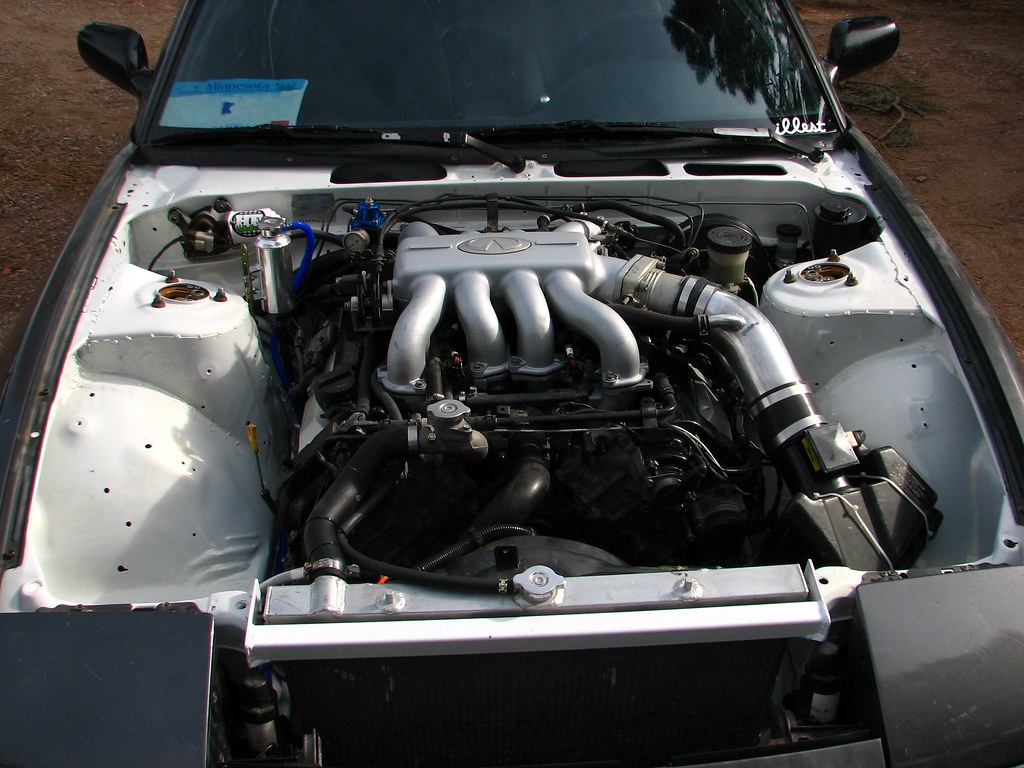
Finally got the hood all cut up and on there.  It still hits in one spot right by the TB but i think i might be able to get away with leaving it like this.  Actually come to think of it, it hits that upper radiator support i made and doesnt close entirely.  We'll see if i need to do more cutting or if i can smash the under side of the hood in .... or something haha.

I found an actual decent use for that stupid door/fender accent you see all the time in chrome on cars.... you know..

Anyways, I found some in black!  Doesn't look half bad i think and cleans up the cuts pretty well.


 - Chase

Tuesday, April 20, 2010

Dent Removal

Figured out a way to get rid of that dent.  Took all of 10 minutes to do and cost just under 30 bucks.

Passenger Before:


Passenger After:


Drivers Before:


Drivers After:

Sunday, April 18, 2010

Wheels pt. 3

After a 3-day event of trying to mount some tires on those rpf1's we finally figured out the correct method.
I ended up buying a couple 245/40's as the two shops i was working with couldn't seat the 235's.  Just my luck, they couldn't mount those either......  so i took matters into my own hands.  Tried MULTIPLE starting fluid fire blast explosion attempts.  To my disappointment it didn't work, but it was fun.

Procedure:

Play with fire+ether starting fluid.
^Heats up the tire and makes it more malleable
Then use bike tire and keep it in there while you air up tire.
Then once it seats take it out.
Presto.

Here's some pics.


The Boys and I

Friday, April 16, 2010

Alignment/wheels

Today is the day! Kind-of..  Get the tires mounted to see that sweet sweet stretch.  235/40 on a 10.5 will look pretty sweet.    Anyways, i've got a buddy coming over thats going to help me align my car real quick before we actually pull the fenders tomorrow.  Would be nice to know how much we actually have to pull them right?


Anyways, BBQ tomorrow!


And since i'm in a picture mood here's another one.  Put a piece of wood underneath the rim and let the car down on it to see what i'm dealing with.  Happy Friday!

Thursday, April 15, 2010

More pictures/Car is running

I thought i would indulge everyone with some more pictures.  My memory card's been acting up and some pictures i took didn't show up in windows explorer at first.  The next time i checked they were there... These were two of them.


Wednesday, April 14, 2010

WHEELS pt. 2

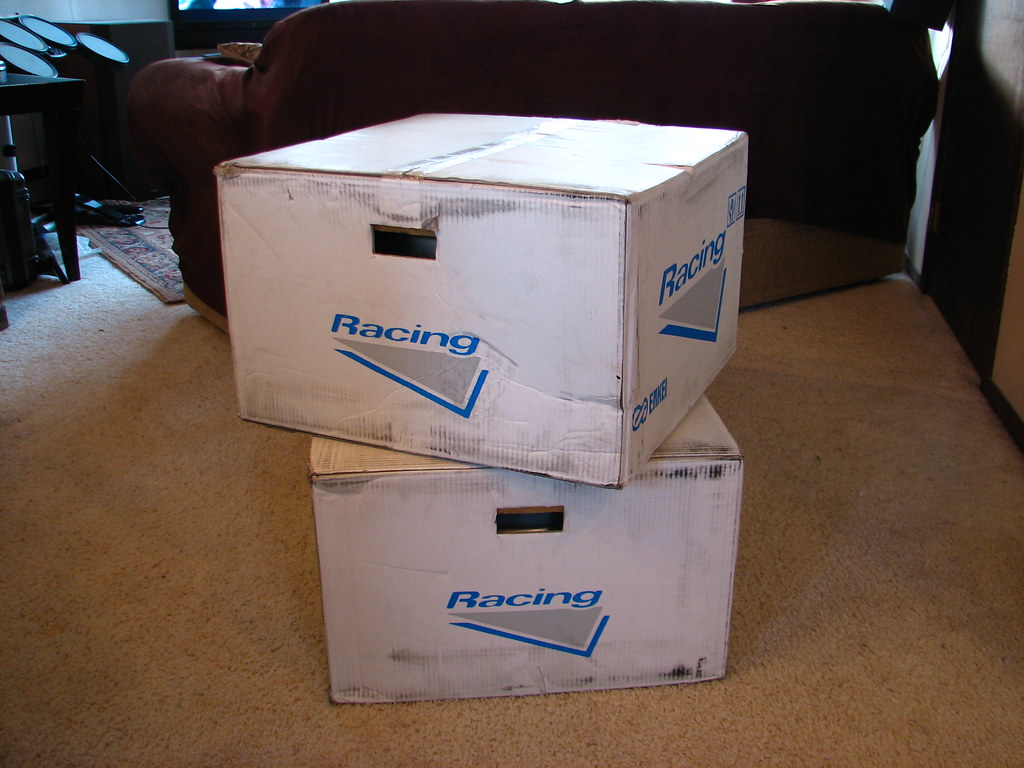
So just got these in the mail today!

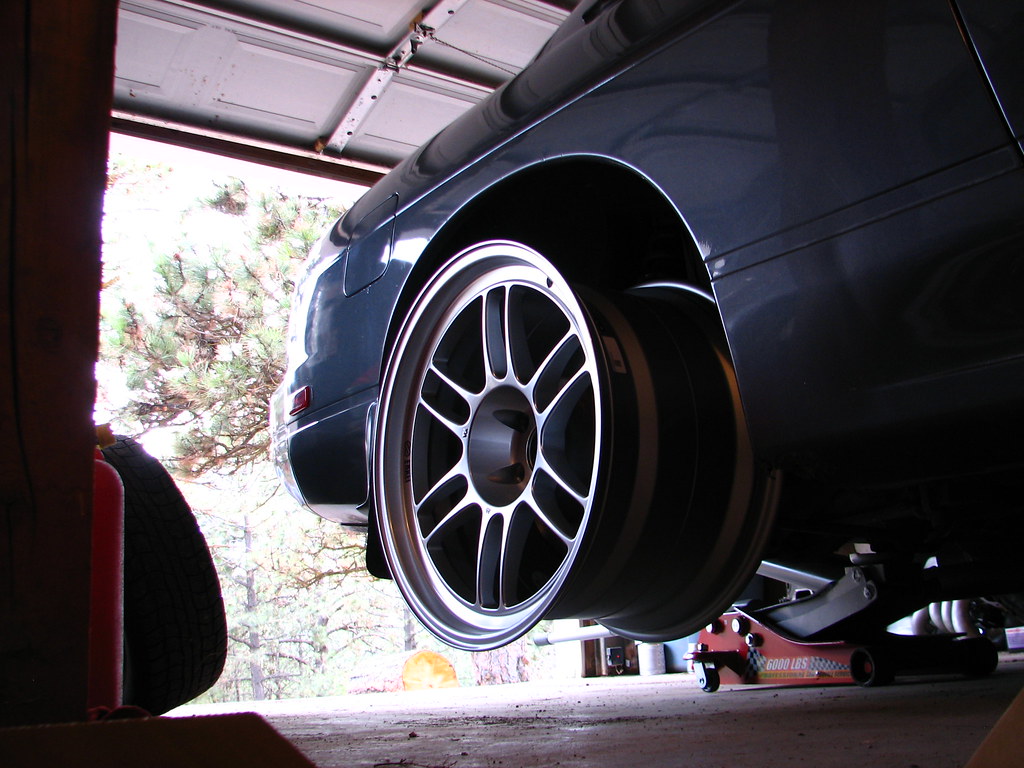
18x10.5 +15   for the rear.  Finally, RPF1's all around.
And these big guys only weigh 19 pounds - awesome.

I'm a little worried if i'm going to be able to pull the fenders enough though... I think i can squeeze a bit more camber out of the ruca's, but still.  It's going to be close.  I've seen someone do the same size/offset on a stock bodied fastback before so i'm hoping it'll be fine.

Another thing is that i have the GR+Pro's so there's the helper spring in the rear which makes the coilover droop alot more when jacked up.  I didnt have time to put some wood under it and let it down to see how close it'd be, had other stuff to get done.


Disregard the stupid ziptie..

Saturday, April 10, 2010

Fuel Lines Part 2

So got some 5/16 hard line after class and bent up some new lines.  This is the result.  Instead of going directly over the header, it goesup along the trans tunnel (sort of).  Basically the only other way i could route them.  I'm satisfied as they are MUCH farther from the header than before.  They were quite literally less than a centimeter away in some spots..

Thursday, April 8, 2010

Fuel Lines

For some reason i knew i was not through with problems....  Come home and find the garage reeking of fuel.  Look under the car and one of my fuel hard lines is leaking.  God this is annoying.  Guess i'll have to replace either all of it or a portion of it.  Think i'm going to replace a large section of it and re-route it anyways since my exhaust is really close to it.  We'll see what i end up doing.