So i made a new bracket to mount the fuse boxes under the dash in the glove box. I figured thats a better place than right in front of the passengers feet that are bound to kick a hole in them....
Also did a little spring cleaning today. No pictures this time. I've gotten a little lazy at taking pictures.... sorry!
I almost forgot, i picked up 4 tires for the rear this past weekend. Sizes are 235/40/18 in anticipation of my rims being shipped out the first week of april. And today the UPS man delivered some Falken Azenis in 235/40/17 trim. These things look sweet i must say. I'm super excited to see how they feel.
I promise next time to have a plethora of images.
Chase
Monday, March 22, 2010
Wednesday, March 17, 2010
Wheels
I did a few hours worth of wiring work yesterday and started making a mounting for the fuse boxes to go behind the glove box. Just have to figure out where i want the bolting points to be. Had to stop prematurely to go to work for a few hours.
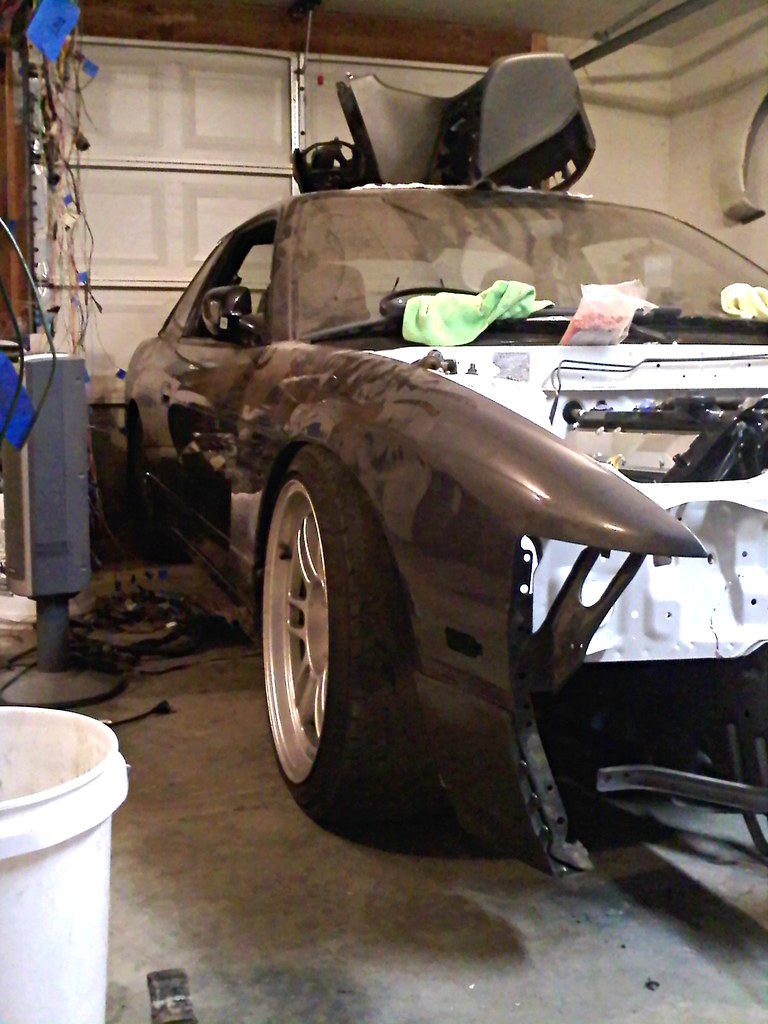
Threw these on the car monday to see what i'm dealing with. Here's some sneak crap pictures.
If you look closely you car see my nasty battleship sunk rear wheels while i wait for the rears to become available for purchase..


Threw these on the car monday to see what i'm dealing with. Here's some sneak crap pictures.
If you look closely you car see my nasty battleship sunk rear wheels while i wait for the rears to become available for purchase..

Monday, March 15, 2010
5 lug it up pt. 2
Just got back from being on Spring Break, went to Minneapolis to have some good times with the girlfriend and friends/family! Picked up a few things while i was in town as well.
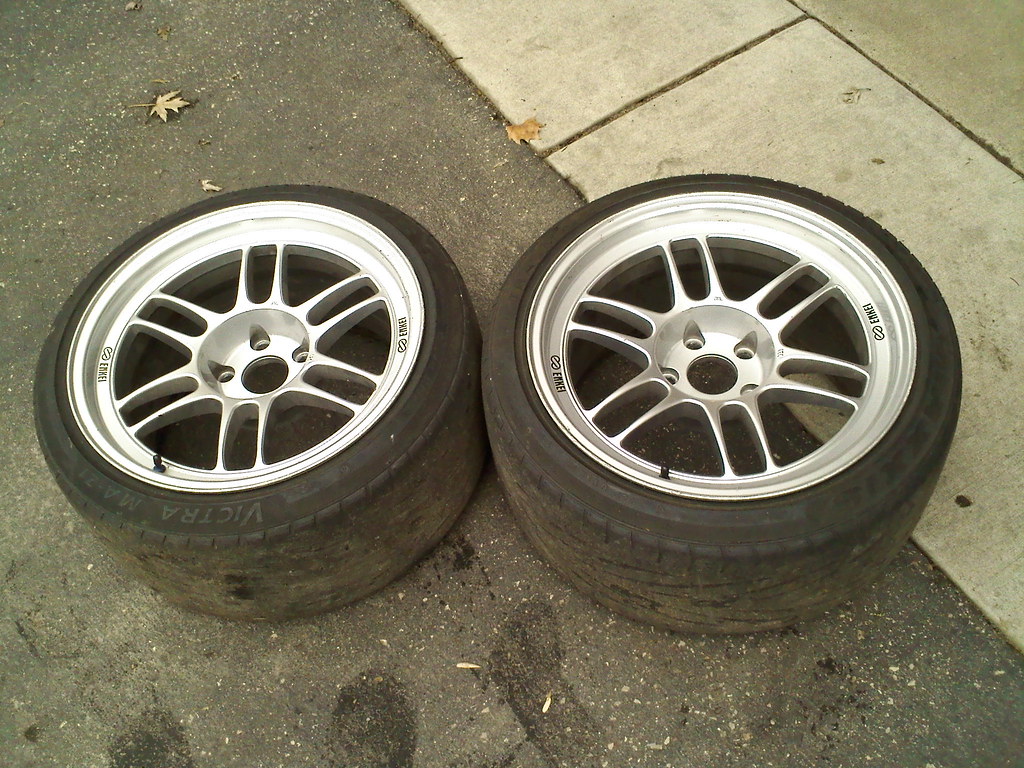
Grabbed these rpf1's for a decent price. Sizes are 17x10 with i believe a +22 offset? They are going to be fronts. I'm looking for some 18x10.5 +15's for the rear in silver preferrably. Know anyone??

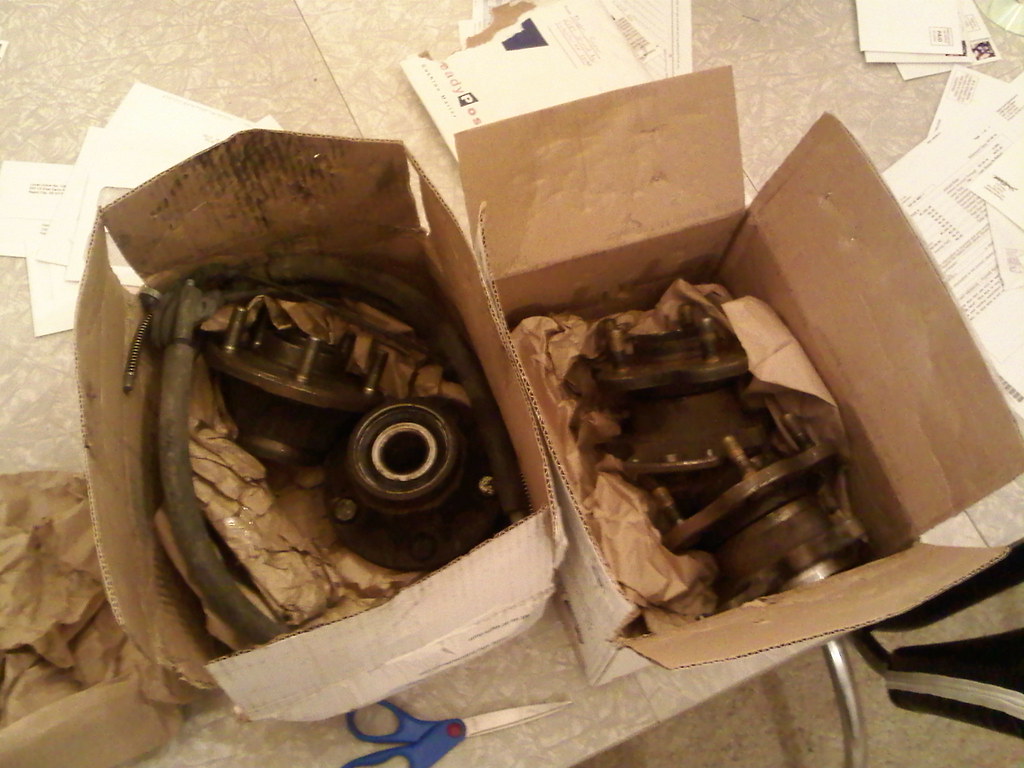
These were also waiting for me when i got back into Rapid. J30 front 5lug hubs with s13 bearings pressed in, a new snap ring groove has been machined to make these hubs work with the s13 bearings. Plug and play! Also in that box are some z32 cables so i can finally have an ebrake with my q45 brakes. Box on the right is z32 n/a rear hubs. 5 lug will be complete with a set of rear wheels and tires!

Grabbed these rpf1's for a decent price. Sizes are 17x10 with i believe a +22 offset? They are going to be fronts. I'm looking for some 18x10.5 +15's for the rear in silver preferrably. Know anyone??
These were also waiting for me when i got back into Rapid. J30 front 5lug hubs with s13 bearings pressed in, a new snap ring groove has been machined to make these hubs work with the s13 bearings. Plug and play! Also in that box are some z32 cables so i can finally have an ebrake with my q45 brakes. Box on the right is z32 n/a rear hubs. 5 lug will be complete with a set of rear wheels and tires!
Tuesday, March 2, 2010
5 lug it up
Haven't done much work on the car in a while.. but i thought i'd throw an update up on whats going on.
This coming week is my spring break so I decided to go home and see the girlfriend and try and relax a little. I could get a bunch done on the car but i think this is more important atm.
Anyways, going to be going 5 lug here pretty soon as i found out how much i'm going to be getting from my tax return (yes!). So depending on when i get it I hope to have a new stance. Also going to try and finish up some more of the wiring when i get back.
Monday, February 15, 2010
Wiring pt. 3
Today i only worked on the wiring for about 3.5 to 4 hours. I just can't fall asleep until 2 am at least anymore haha.
Still, i finished the drivers side part of the under dash harness! I've moved the Wiper Amp inside to under the dash so there is minimal stuff in the bay. Also incorporated the BMC wiring and shock tower ground into the same harness. I didn't sleeve anything because, well, the lengths were so short it didn't seem worth it to me. Plus it's going to be under the dash. All of this is labeled in the picture below.

This next pictures show kind of how the wiring is routed. I just realized how nasty my brake booster looks in this bay from the next two pictures haha. Going to have to take that out and paint it... white or black? white??


Sunday, February 14, 2010
Wiring pt. 2
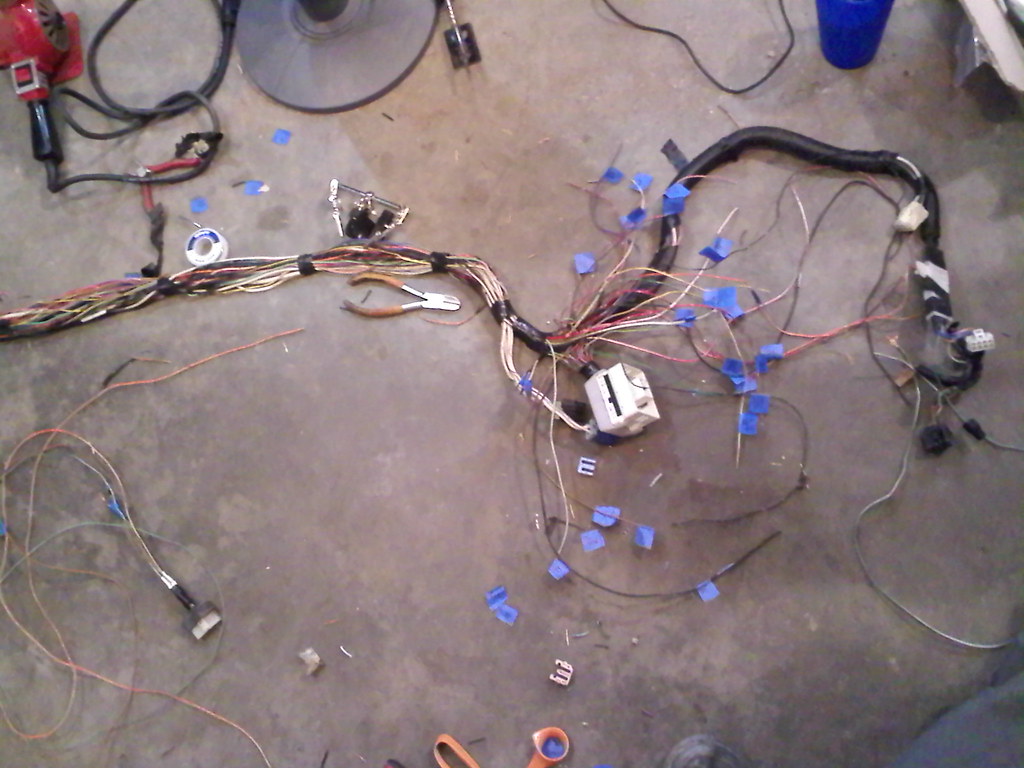
Got a bit more done today on the harness thats going behind the dash.
All the wires to connect to the engine room harness are sectioned off.


All the wires to connect to the engine room harness are sectioned off.
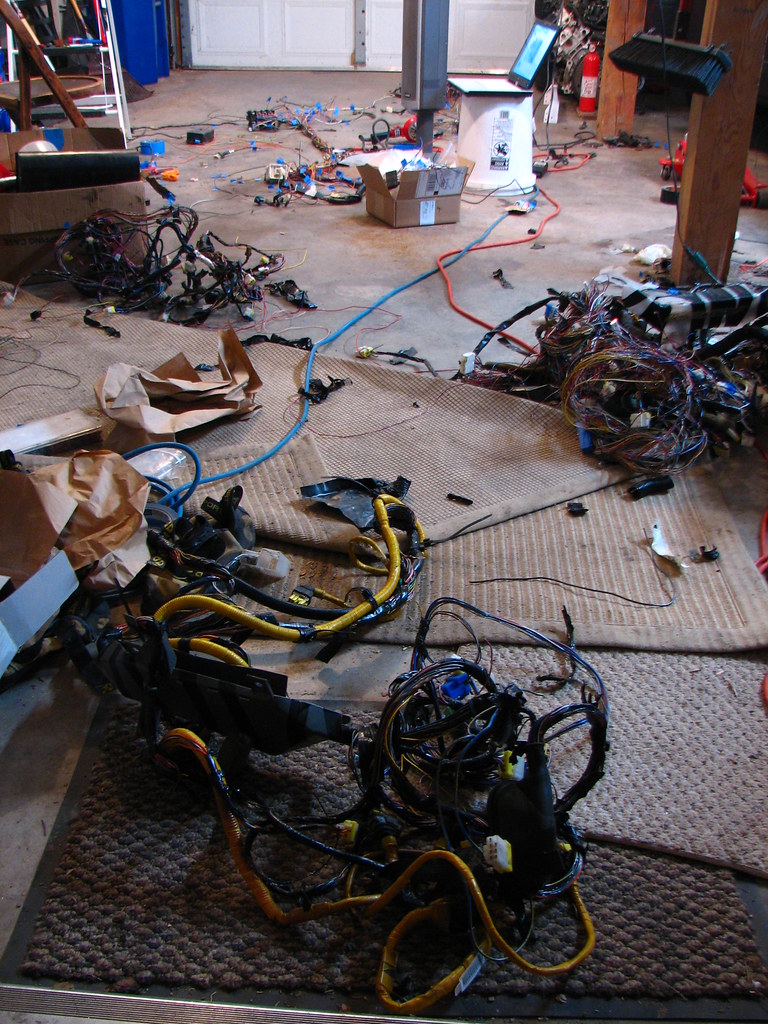
And here's what my garage looked like after i finished today. Mmm food.
Saturday, February 13, 2010
Wiring up Front
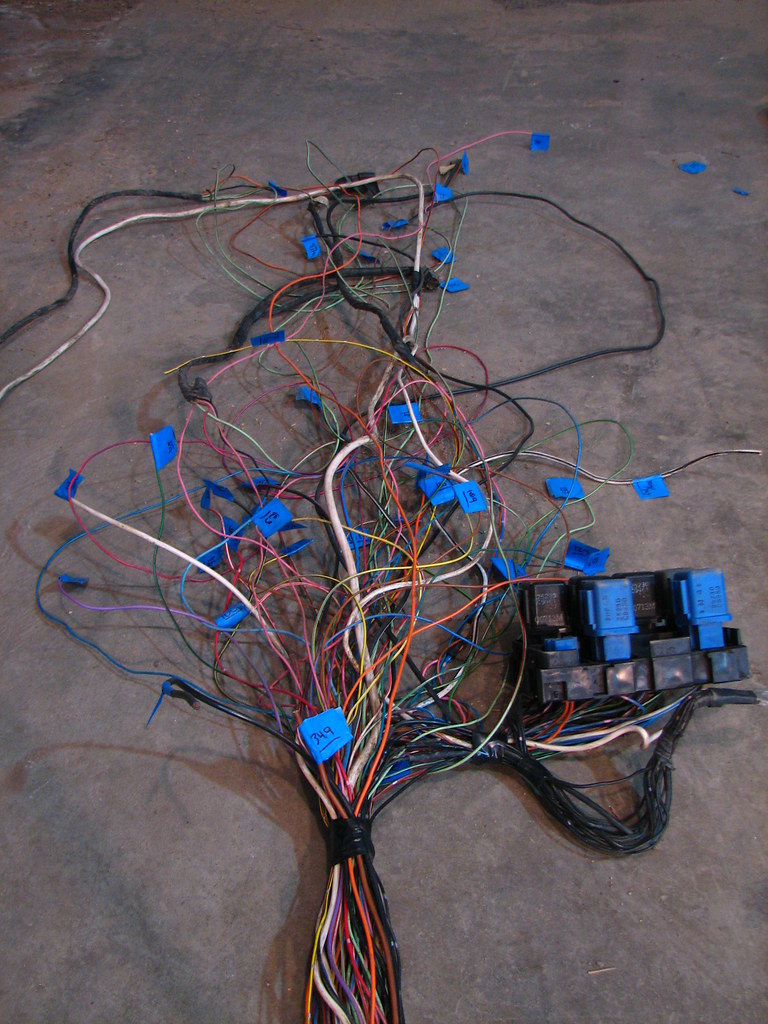
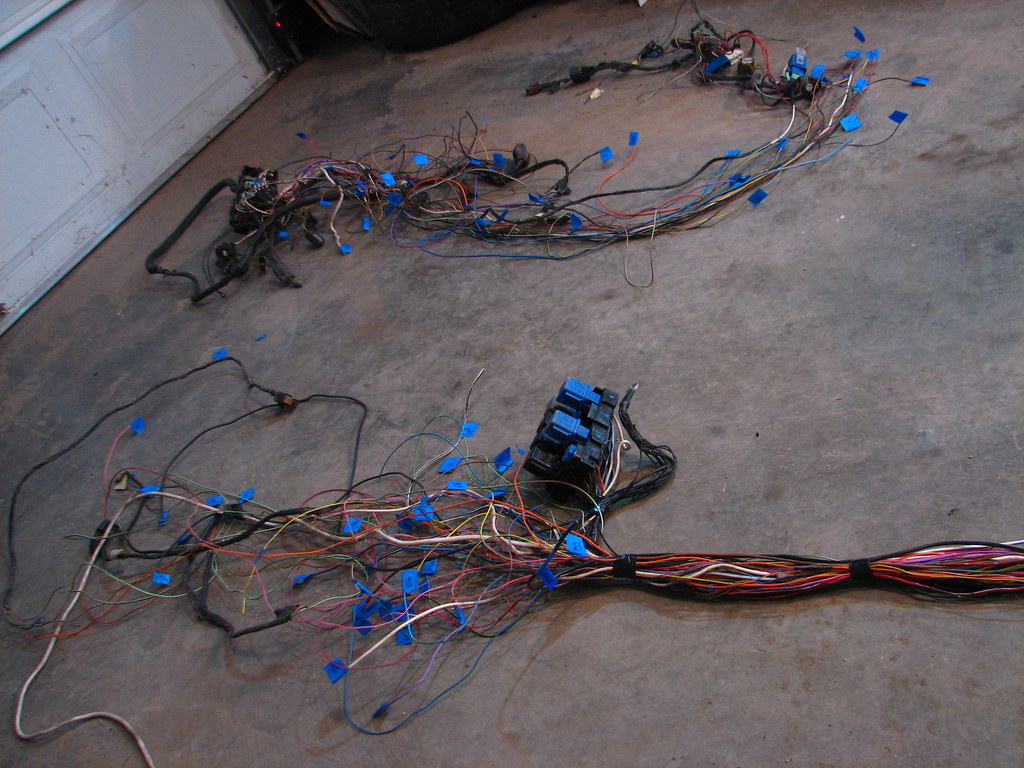
Got some work done today. I basically finished the wiring harness i made to replace EVERYTHING up front. This harness is for the lights/motors/blinkers/side markers. I will never do this again in my life (maybe). And i advise anyone else to PAY someone to do this for them as this is a giant pain.
A huge reason why it took so long is because i used OEM nissan connectors that i pulled off the q45 harness i have. So basically de-pined everything, including connectors up front, so i could get the sleeving over it. Lots and lots of labeling. And the soldering/extending/finding correct pins for the end that is going to connect to the chassis harness.

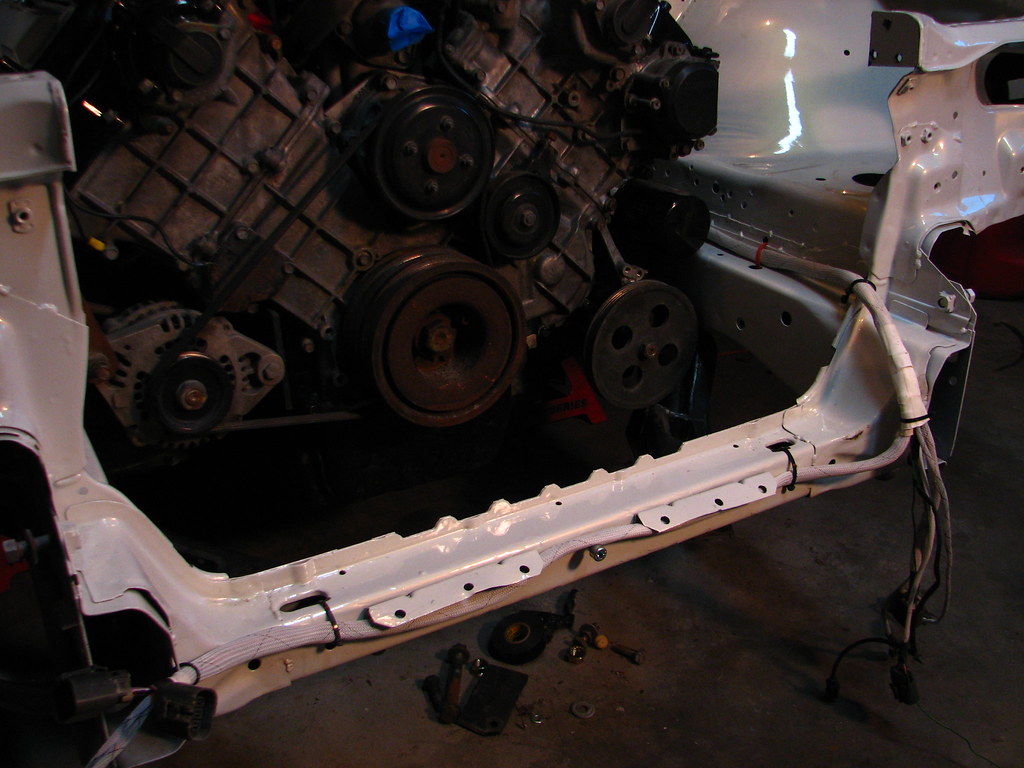
This is how it's run up along the frame rail. I might add heat wrap around it later, not sure yet.

Here's the front end how it splits to the other side.

A huge reason why it took so long is because i used OEM nissan connectors that i pulled off the q45 harness i have. So basically de-pined everything, including connectors up front, so i could get the sleeving over it. Lots and lots of labeling. And the soldering/extending/finding correct pins for the end that is going to connect to the chassis harness.

This is how it's run up along the frame rail. I might add heat wrap around it later, not sure yet.

Here's the front end how it splits to the other side.
Tuesday, February 9, 2010
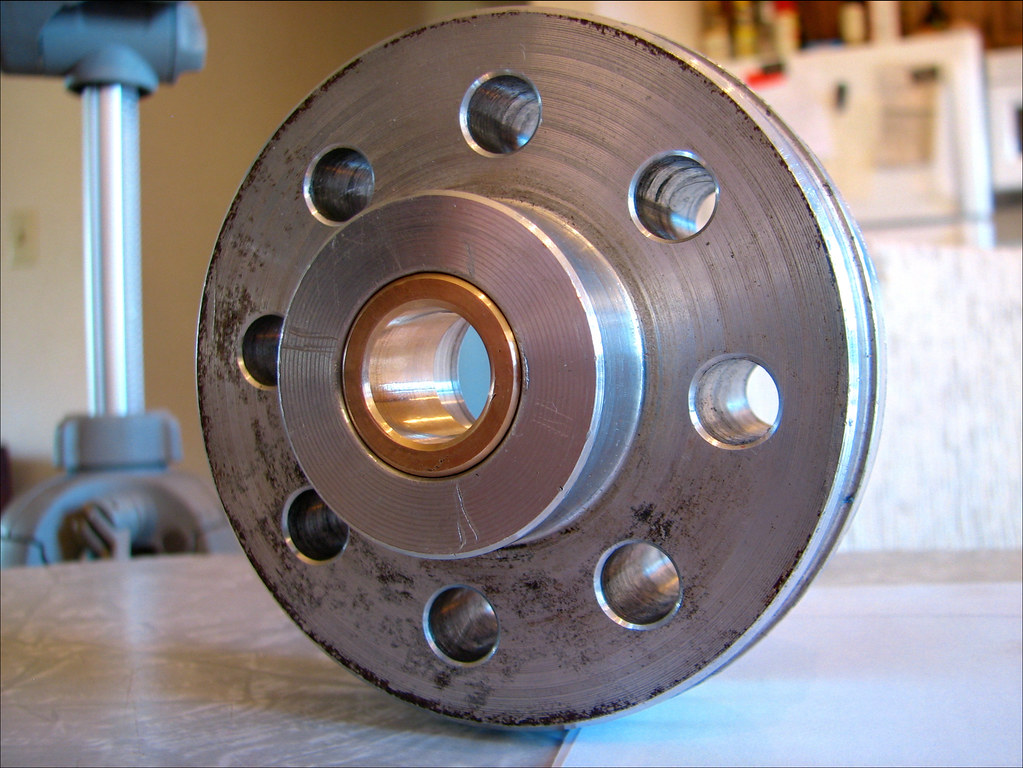
Flywheel Spacer/Clutch on Engine
Here's better pics of the flywheel spacer. If you look at the previous picture of it you can see the bushing is now recessed 11mm in the spacer.


- Chase

Here's just a random picture i took after we bolted the new clutch and lightweight flyhwheel to the engine. Notice the sign in the background lol. I just noticed it got into the pic.

- Chase
Sunday, February 7, 2010
Engine in Bay!
So i FINALLY got the engine in late last night. Was so close just decided to put it in there.


Friday, February 5, 2010
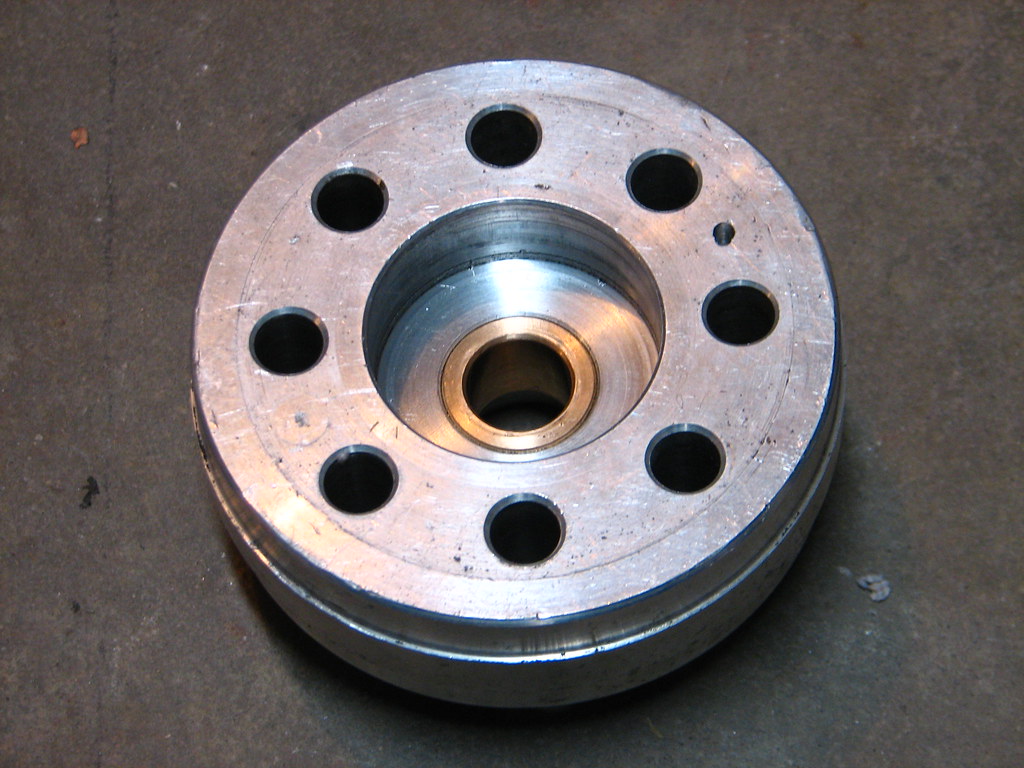
New Flywheels Spacer Machining
So we re-machined the flywheel spacer today. Got everything all nice and fixed up.
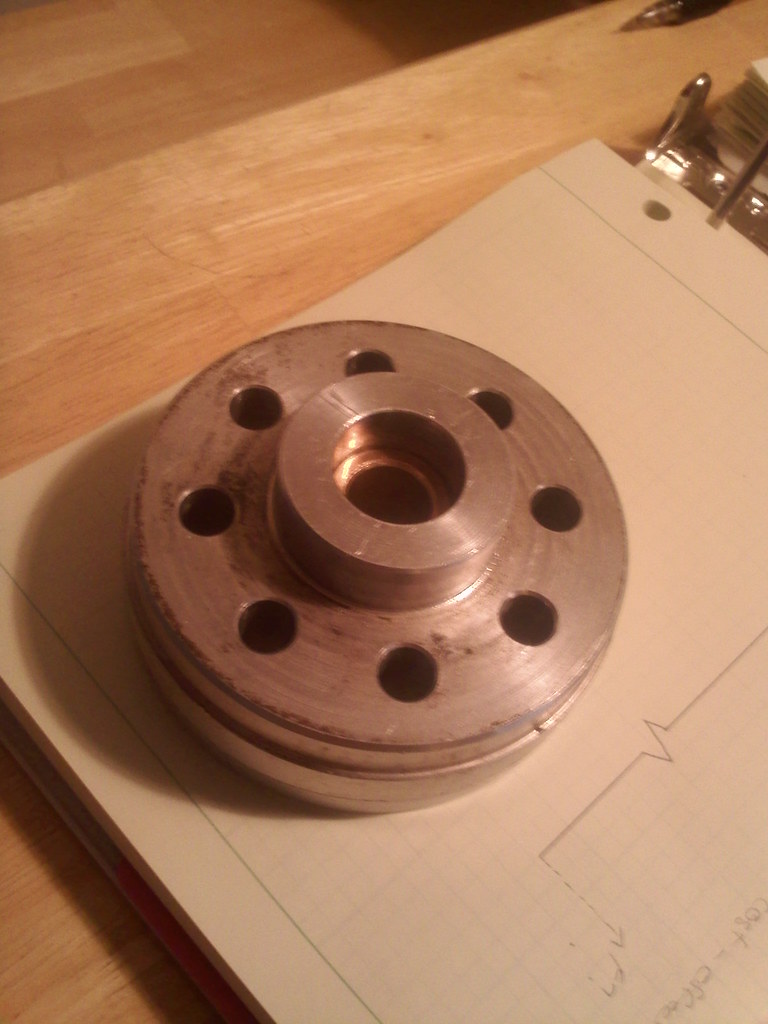
Here's how the bushing was situated in it before the surgery.

And after.. (crappy pic, will get a better one later...)

Here's how the bushing was situated in it before the surgery.
And after.. (crappy pic, will get a better one later...)
Subscribe to:
Posts (Atom)